All you pancake makers out there hear “Mickey pancake” and you probably think, “Hey, I already know how to do that! You make 1 big circle plus 2 smaller circles for ears.” Today we’re going to talk about taking your Mickey pancakes to the next level. If you thought your family was impressed before, wait until they see this new talent of yours!
Who doesn’t love Mickey-shaped anything? From pretzels and waffles to ice cream bars and sandwiches, eating a Mickey-shaped treat is always sure to put a smile on your face.
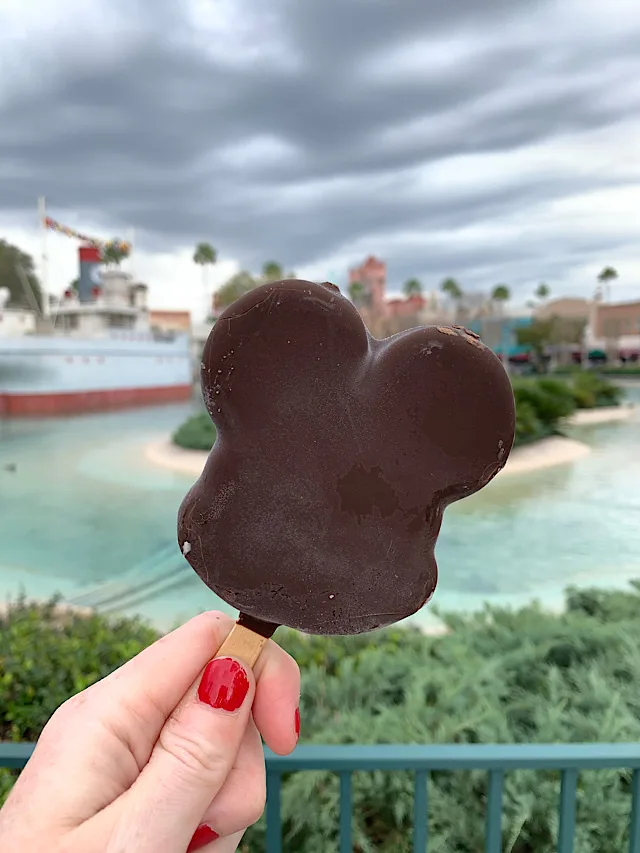
Recently, Jamie made Mickey-shaped Rice Krispie Treats! They turned out so cute with the dipped chocolate! Check them out HERE.
We have also shared about using a Mickey waffle maker to help you create a perfect character breakfast to enjoy at home! Hey, if you can’t enjoy them at the park, you might as well make the best of it.
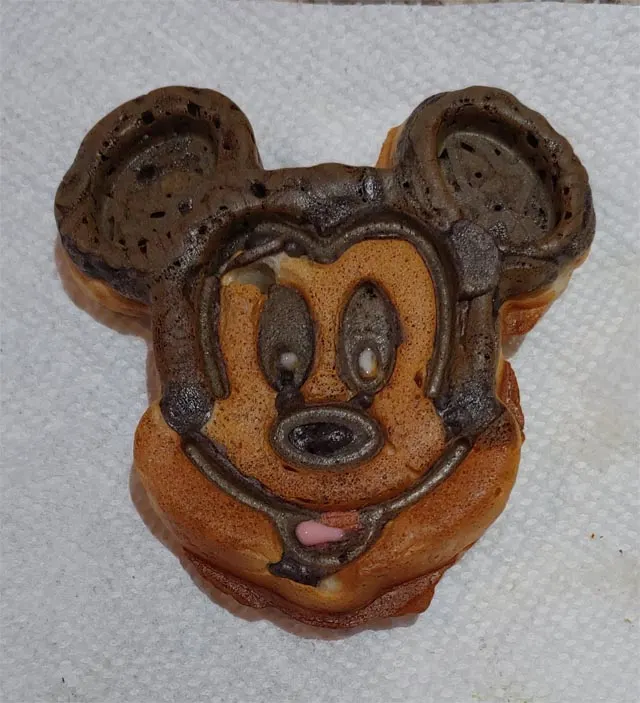
Now, we are going to talk Mickey-shaped pancakes! This video tutorial below walks you through the process step by step.
Supplies for making Mickey pancakes
The only supplies that you need that you may not already have are a couple of squeeze bottles like you might use for condiments and black food coloring.
If you want to use make more advanced pancakes, you can grab some light brown and red food coloring along with smaller squeeze bottles for more details. You can often find these at larger retail stores or order online.
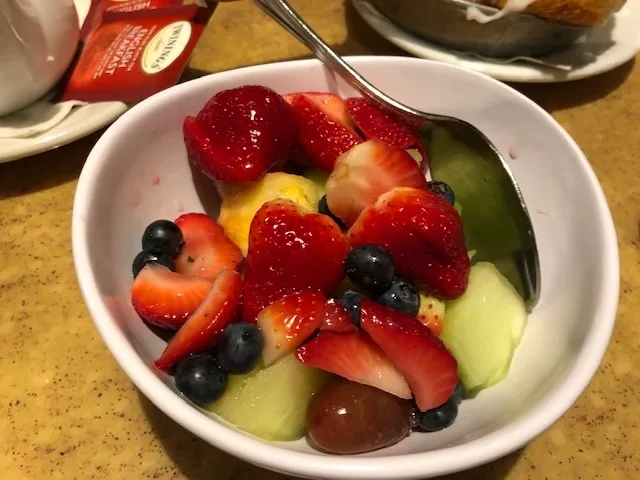
Also, be sure you have your pancake mix and your syrup! If you like fruit with your pancakes, be sure to have that ready to go as well.
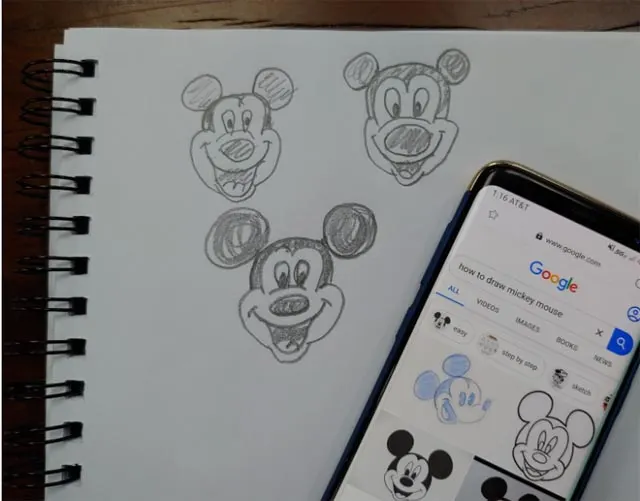
First, make sure you can draw Mickey!
For preparation, I recommend a little bit of practice drawing Mickey’s face with a pencil and paper.
Any of you who have taken an Animation Experience class at Animal Kingdom’s Conservation Station or at Disney’s California Adventure already know that you can draw better than you think.
If you still don’t feel like you can draw Mickey, check out this tutorial: Mickey animation tutorial.
Once you’ve drawn yourself a few Mickey faces, it’s time to get started actually making the pancakes!
Some things to note ahead of time
I use an electric griddle to make my pancakes, but you can use a frying pan on the stove. Just make sure the edges aren’t too high to slide the spatula under the pancake. No matter what you use, keep the heat set very low.
It’s also important to take your time! Don’t rush through. If your heat setting is low enough it won’t be ready to flip before you are done.
Now, on to the pancake making!
First, you will want to prepare your pancake mixes and get them in the squeeze bottles. Then, you will begin making Mickey using the black mix first to outline.
Next, use the regular mix (or light brown if you want extra fancy pancakes) to color in the rest of Mickey. Finally, wait several minutes for that first side to cook.
Now, you are ready to flip!
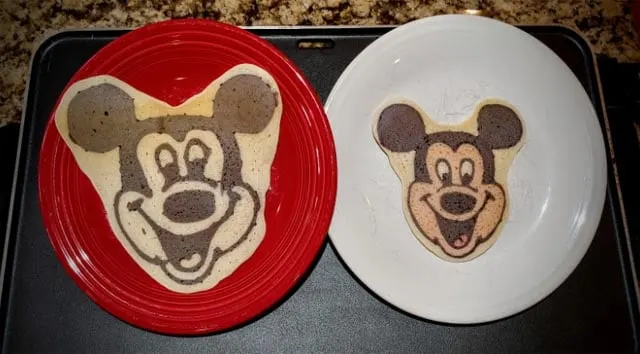
We hope you enjoy this do-it-yourself Disney project. I know a lot of us with more time than usual at home these days are looking for new projects to do.
Let us know what you think on KennythePirate’s facebook page. Also, be sure to join our KtP Crew facebook group and share photos of your creations. We would love to see them!
Discover more from KennythePirate.com
Subscribe to get the latest posts sent to your email.



What do you think?