Tie-dying t-shirts is synonymous with summer for me! Every summer, we love to create fun tie-dye apparel with all of our favorite colors. Here’s an easy to follow tutorial so you can add a touch of magic to your next tie-dye project.
Walt Disney World Style
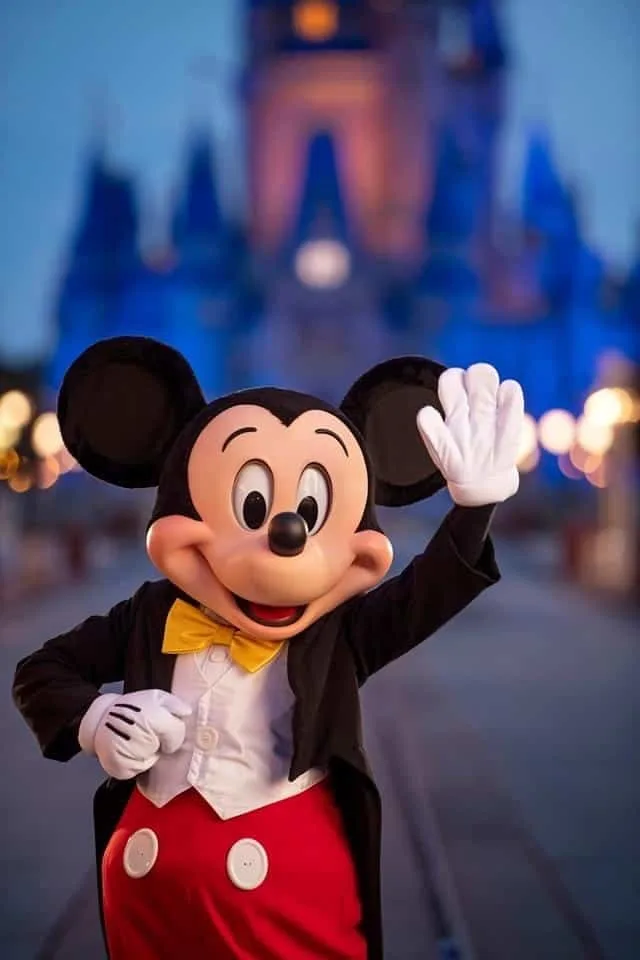
Last summer, we took a trip to Walt Disney World and noticed several families wearing matching Mickey tie-dyed shirts.
I figured everyone had them specially made or purchased, and added them to my “future family Disney matching shirts” plans that I make every trip.
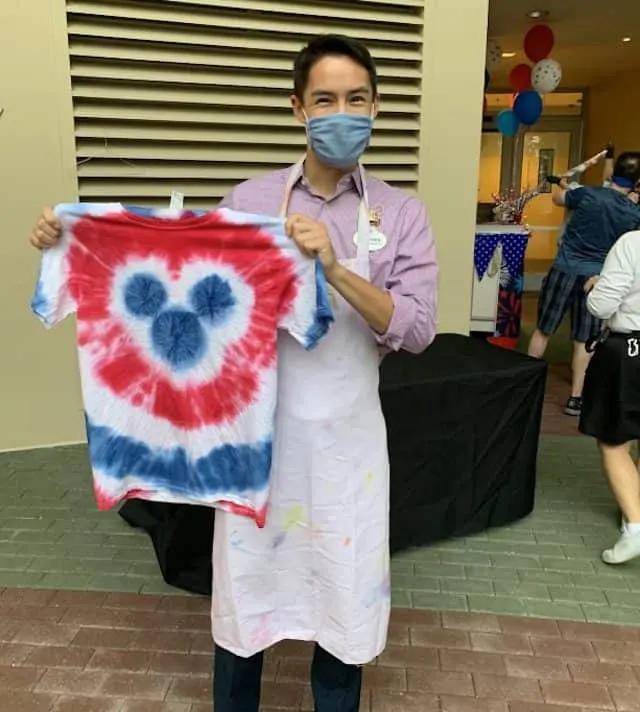
While enjoying our pool day at Disney’s All Star Movies Resort, we were so excited to see that the Recreation Cast Members were offering a most colorful activity: make your own Mickey-inspired tie-dye shirts!

The shirts were already prepared with the elastics, so we weren’t able to actually see how the Mickey pattern was made. Instead, we just got busy with the tie dye.
We had so much fun making Mickey inspired tie-dye shirts, and we find ourselves wearing them everywhere!
Endless Mickey Inspired Tie-Dye Possibilities
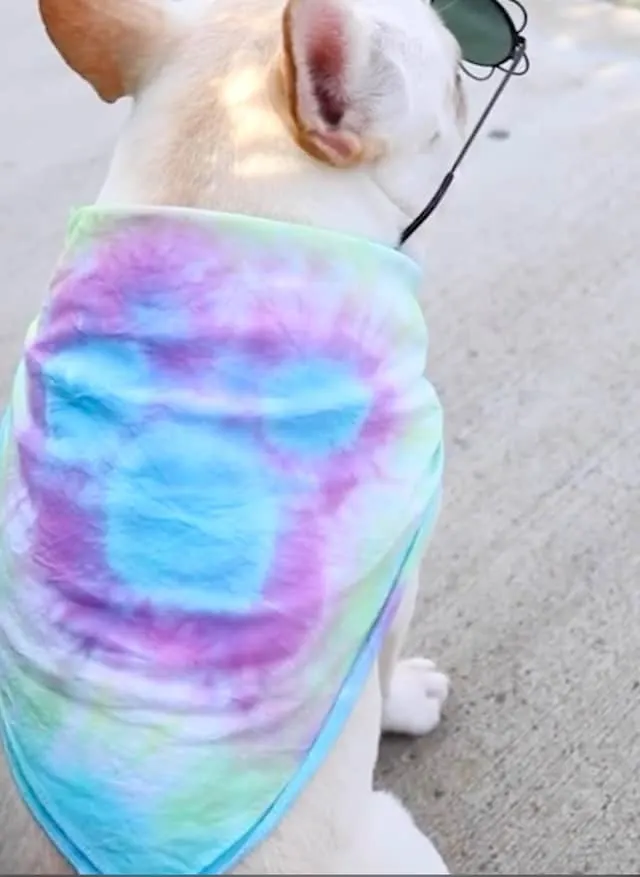
Ever since our first experience with Mickey tie-dye, I’ve been wondering how I can recreate the shirts myself at home.
I can just imagine tie-dyed shirts with the Mickey in different places, tie-dyed Mickey towels, pillowcases…the possibilities are endless!
Are you ready to add a touch of Disney style to your next tie-dye?
Materials
You will need:
- tshirts or whatever you intend to tie-dye. White works best
- small and large rubber bands
- tie-dye kit
- plastic wrap
- chalk
- Mickey outline
- gloves
- plastic bags
Colorful Disney Style
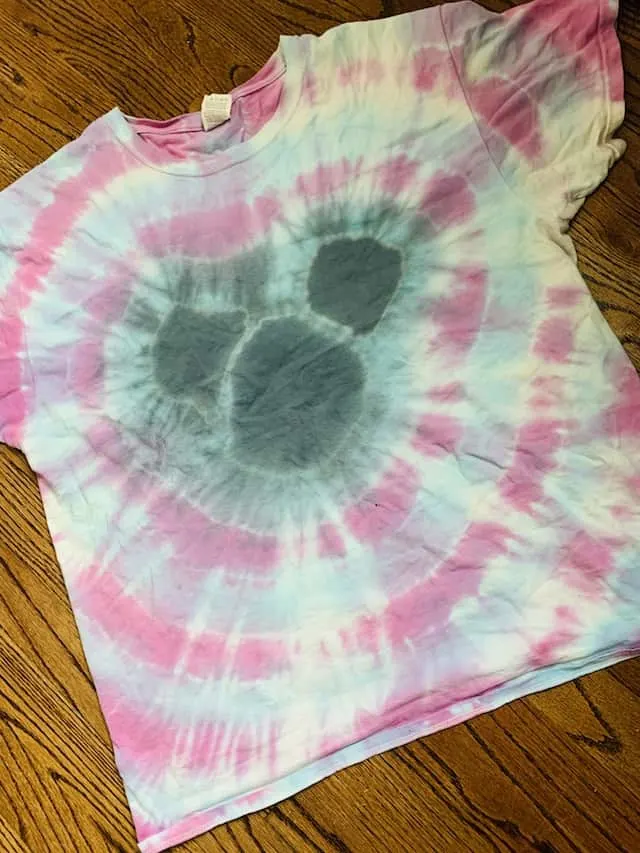
Transforming an ordinary shirt into a magical shirt is easy and fun! Your first step is tracing.
Place this template in between the layers of your shirt where you want the Mickey to be. Trace the Mickey outline with chalk, and then remove the outline.
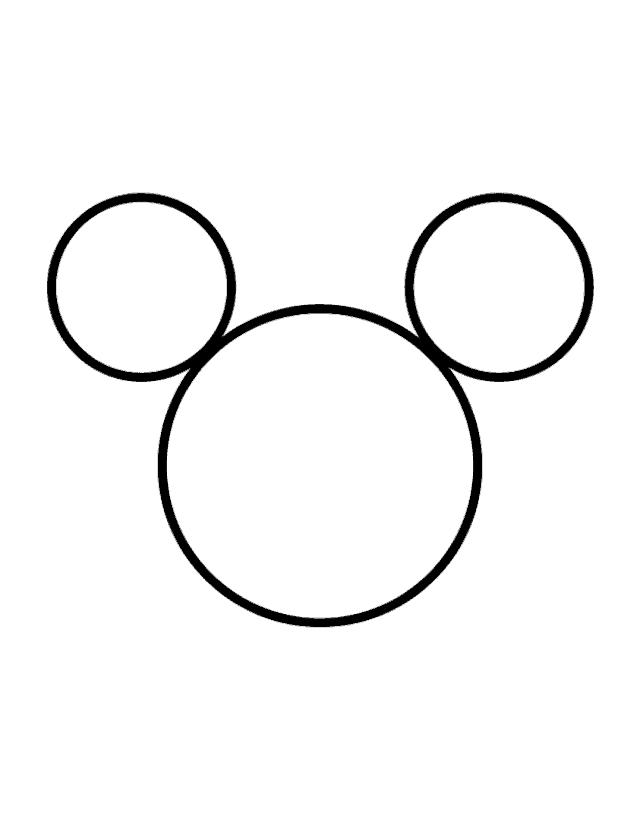
Pattern: Disney Parks Blog
Take a small rubber band, and grab the center of one of Mickey’s ears. Pull the fabric up, and wrap the rubber band around the chalk line.
Repeat for the other ear and Mickey’s head.

After Mickey is tied, then you will tie up the rest of the shirt.
Starting about two inches down from Mickey, tightly wrap another elastic band. Continue with elastic bands about every two inches until you reach the bottom of the shirt.
After the elastics are placed, follow the directions on your tie-dye kit about prepping the shirt and dye.
Time to Get Messy!
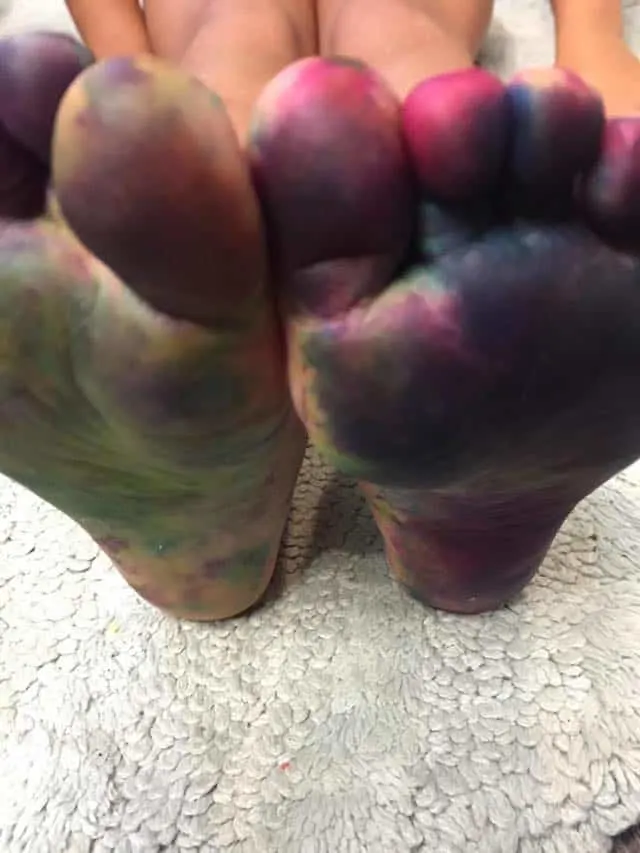
When you are ready to tie-dye, you’ll start with the Mickey head. This is the trickiest part, so proceed with caution!
Start with Mickey, and choose one color for his ears and head. Darker colors are best.
Pirate Tip: Although Dark colors are best, I do not suggest black. the black color did not last and looks washed out over time
For the next section, choose a brighter color. This section will frame your Mickey, so choose this color carefully as well.
If you pick a color that is too similar to your Mickey, the two sections will blend together, resulting in a less distinct Mickey outline.
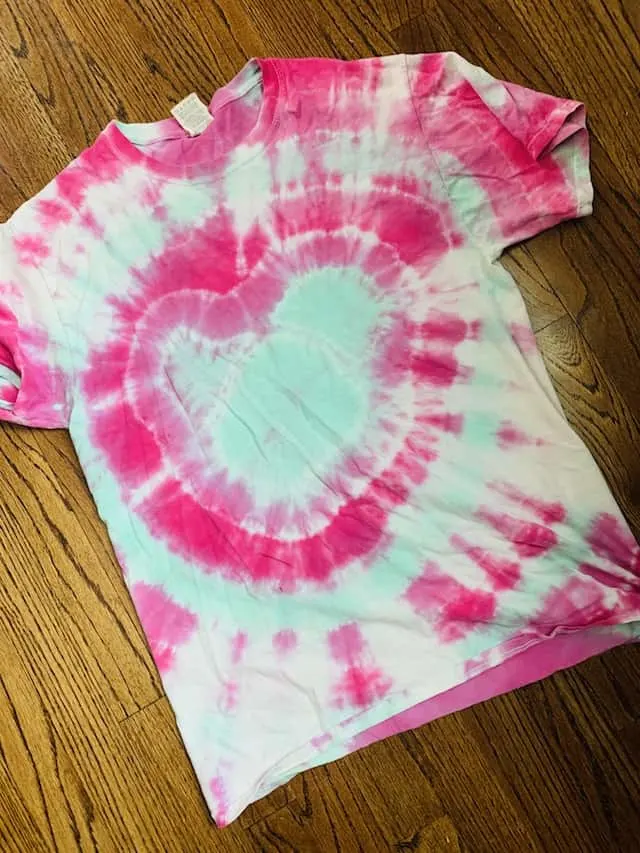
Continue dying each section until you cover the entire shirt.
Don’t forget to be sure the dye is reaching the middle layers of the shirt!
Final Steps

When you’ve completed applying the dye, you’ll wrap your shirt in plastic wrap, and then place it in a plastic bag for at least 24 hours.
I suggest leaving it for longer than 24 hours, if you can stand to wait! The longer you let it sit, the more vibrant your colors will be
When your shirt is ready, remove the elastic bands and rinse the shirt out in a sink until the water runs clear. You should run it through the laundry one time before wearing it.
Pirate tip: Wash your tie-dyed items alone the first time they go in the washing machine
A Step By Step Visual Guide

Show us your shirts!
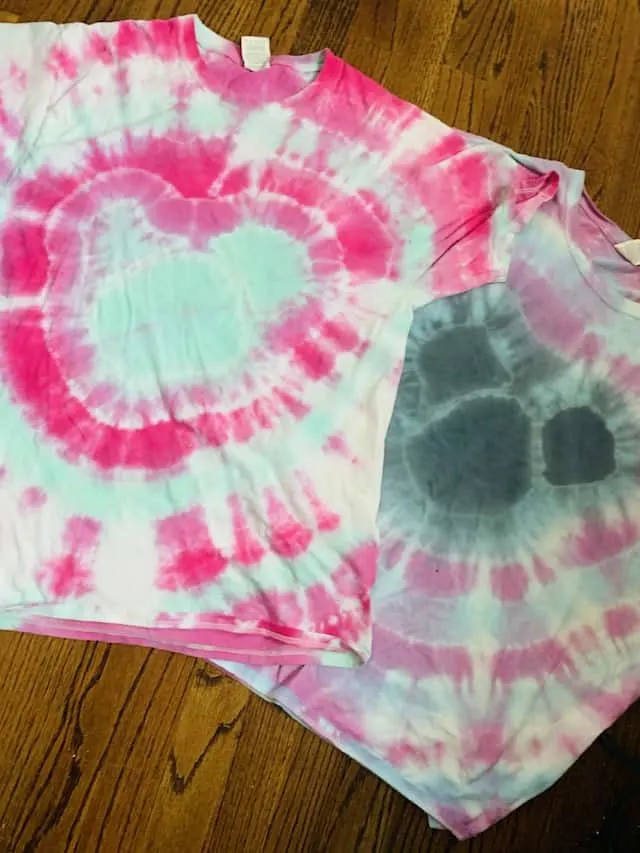
We’d love to see your Mickey inspired tie-dye! Show us your shirts on Kenny the Pirate’s Facebook Page, or join our crew and continue the discussion!
Discover more from KennythePirate.com
Subscribe to get the latest posts sent to your email.


What do you think?