Scrapbooking is super easy and one of the most fun ways to creatively display photo memories that will be cherished for years to come.
Check out my scrapbooking journey and step-by-step instructions to create a Disney scrapbook. Hopefully, I’ll inspire you to try this wonderful craft!
Why Scrapbook?
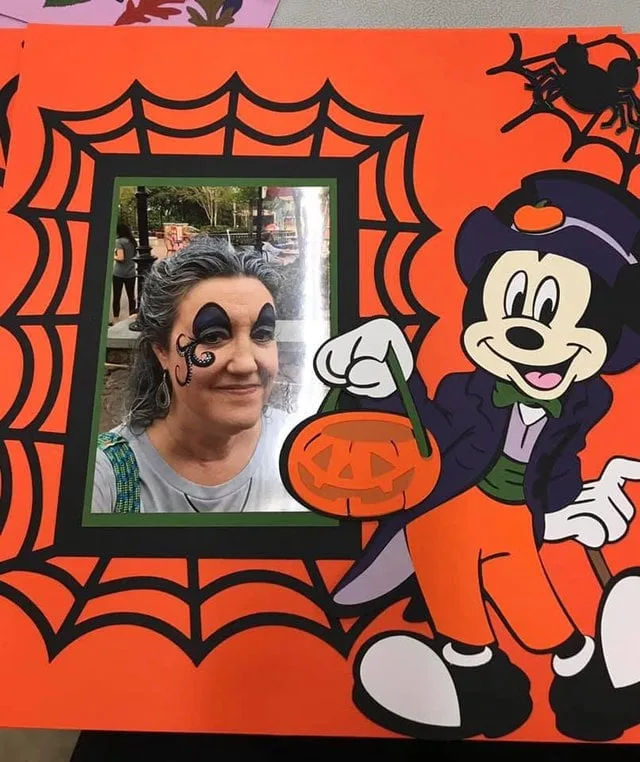
 Credit: Susan. Halloween Mickey and spider web created with my Cricut cutting machine.
As a little background on my scrapbook journey, I started about 20 years ago after the birth of my triplets. I’ve always enjoyed taking both random and posed pictures of my children and family. As you can imagine, when they were young, I had absolutely NO time for anything but caring for them.
I knew if I had pictures I could do something with them, but I had no idea what at the time. I’m not sure how I first got started, but we have a local scrapbook store, and I began taking how-to classes there. Check out the Halloween themed layout, and see how I got my face painted here at a Mickey’s Not So Scary Halloween Party.
Spend Time Remembering
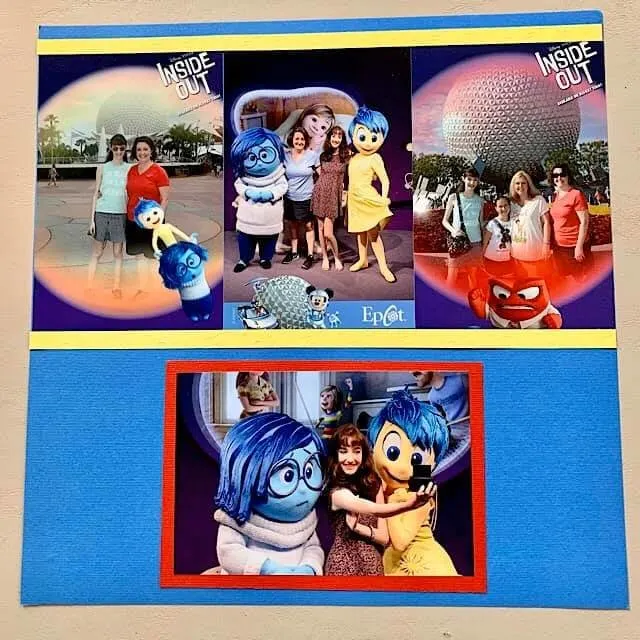
These classes evolved into a time of making new friends as well as learning many scrapbook techniques. My best friend and I still go to weekend crops where we scrapbook and enjoy each other’s company for an extended time. It’s so refreshing to get away from the demands of everyday life and hang out together.
My children and I love looking back at our albums. They allow us to briefly re-live each precious moment. Now that they are grown, I especially appreciate each photo and scrapbook layout. I hope you will consider creating a Disney scrapbook of your family’s journey and just everyday moments and events.
What Do I Need To Get Started?
Although collecting scrapbook supplies can become a hobby in itself, you don’t need to break the bank to get started. Of course, you’ll need photos, which if you’re like me, you have an abundance of. In addition to photos, collect the following items: album, cutter, adhesive, solid paper, and patterned paper.
Pirate tip: A scrapbook can be both a noun (the album) or a verb (the act of creating a scrapbook).
Photos
We have SOOO many pictures on our phones, but many people don’t print them or share them. They somehow get lost over time. There’s an easy way to avoid that. Begin scrapbooking your Disney (and other favorite) memories!
Disney has added a new experience that allows you to have a reserved private photo session with a Disney PhotoPass Photographer. Check out Donna’s article here on this experience.
Walt Disney said that ‘Disneyland will never be completed. It will continue to grow as long as there is imagination left in the world.’
Scrapbooking is a wonderful way to document not only changes like Disney’s cavalcades, but also events like Disney’s 50th Anniversary coming in October 2021.
Ordering Photos
Stores like Target and Walgreens have options for printing photos. Many have apps where you can simply upload the photo from your phone. Always check for coupons to save some money.
You can choose from either matte or glossy photos, and many stores have options to either pick up prints in the store or mail them directly to your home. Pictures are better when ordered online and shipped rather than from having stores process them.
For additional easy ideas on preserving Disney memories, check out my article here.
Albums
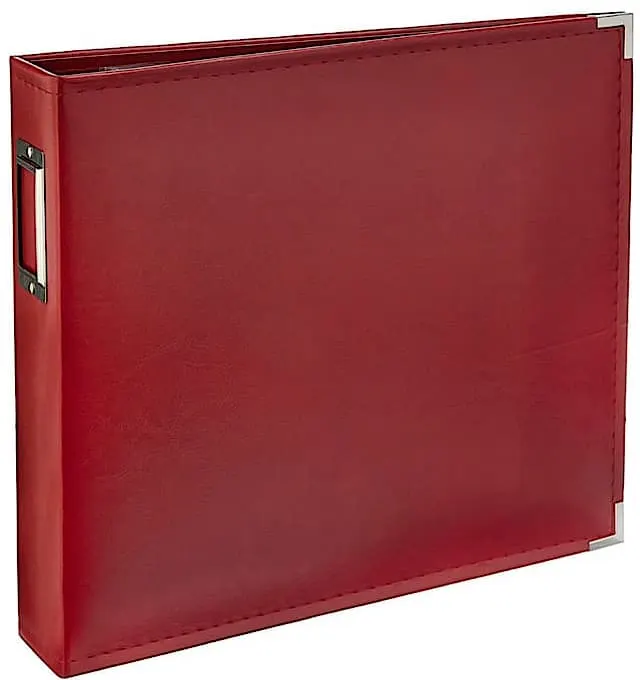
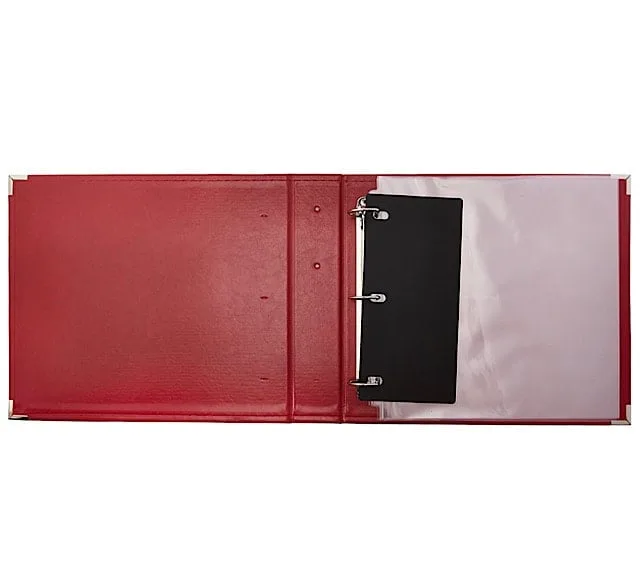
There are a variety of types and sizes of albums to choose from. Popular sizes are 6″x 6″, 8 1/2″ x 11″, and 12″ x 12“. I use 12″ x 12″ albums to allow more space for photos. The square size makes it super easy to use also. Keep in mind albums only come with 10 pages so you may need to purchase additional clear page protectors.
My favorite type of albums are the D-Ring albums. They’re similar to the classic 3-ring binders, but the ring is larger and shaped more like a D. The advantage to these albums over post-bound, etc. is the ease of adding and rearranging pages. When using post-bound albums in the past, I would get so frustrated trying to loosen/tighten those flat screws.
There are many Disney themed albums to choose from, however, these are mostly the post-bound style so I avoid them. I really like leather or faux-leather albums, both for durability and ease in keeping clean.
Adhesive
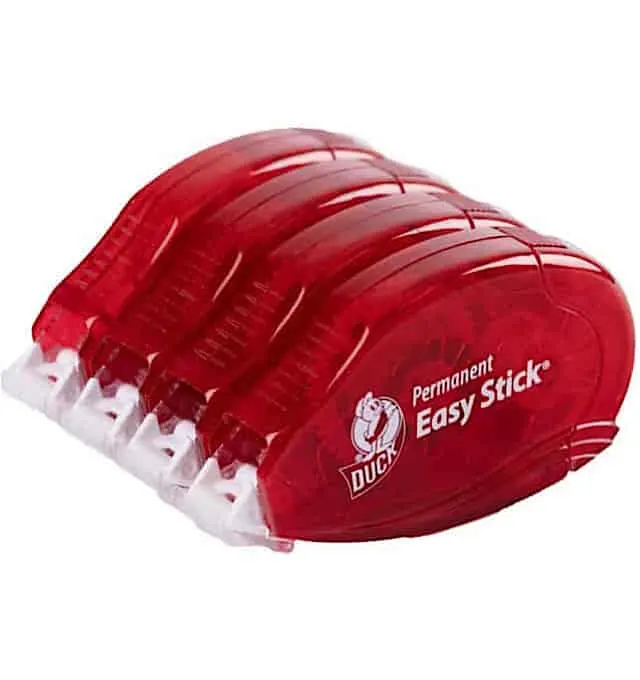
I love adhesive runners because they’re so easy to use, and acid-free. Using an acid-free adhesive helps keep your photos from deteriorating over time. Adhesive runners are sold at Amazon, your local craft store, office supply store, and Target. Glue sticks and liquid glue are more messy than adhesive runners and aren’t always acid-free. If an adhesive is acid-free, it will state it on the label.
Pirate Note: Using acid-free adhesive, paper, and stickers protect your precious memories from fading over time.
Cutter
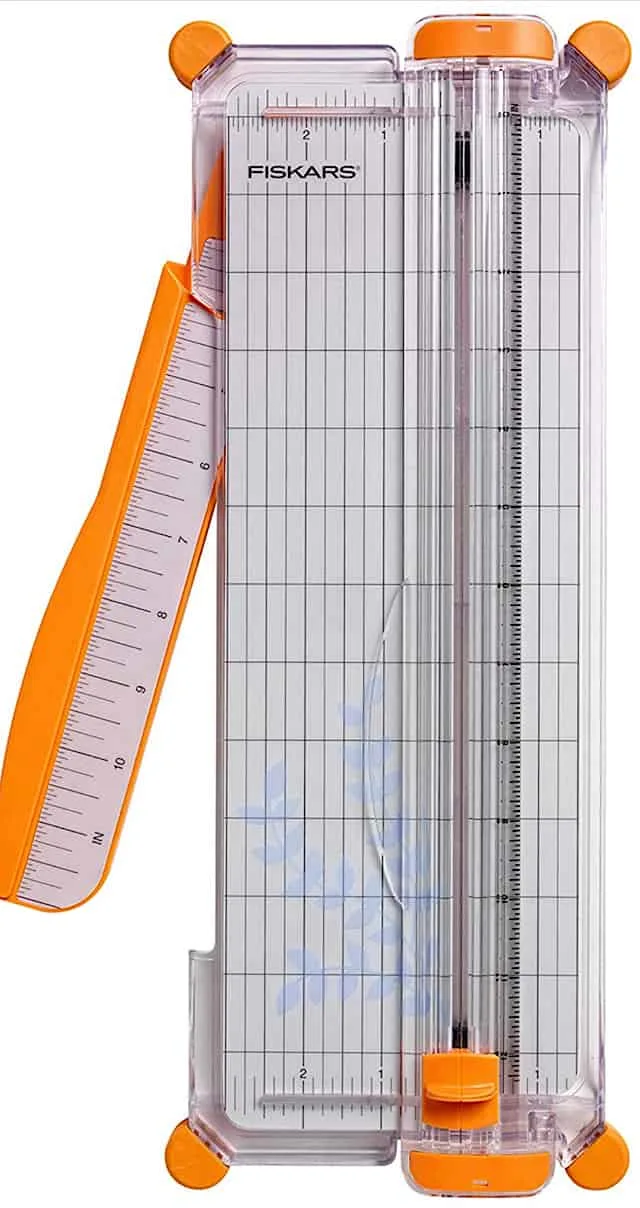
Having a scrapbook cutter is essential for cutting straight lines and trim photos to a specific size. My favorite is the style shown above. It features a 12 inch extension arm and is super easy to cut and measure. Blades can be found online and at craft stores.
Paper
In scrapbooking (and paper crafts), there are 2 types of paper, solid and patterned. You’ll want to choose acid-free paper over construction paper, etc. Acid breaks down photos over time, and you will eventually lose what you’ve created.
Solid paper used in scrapbooking is generally referred to as cardstock. Cardstock is thicker than general printer paper, is easier to use, and holds up better. This is the foundation of your scrapbooking.
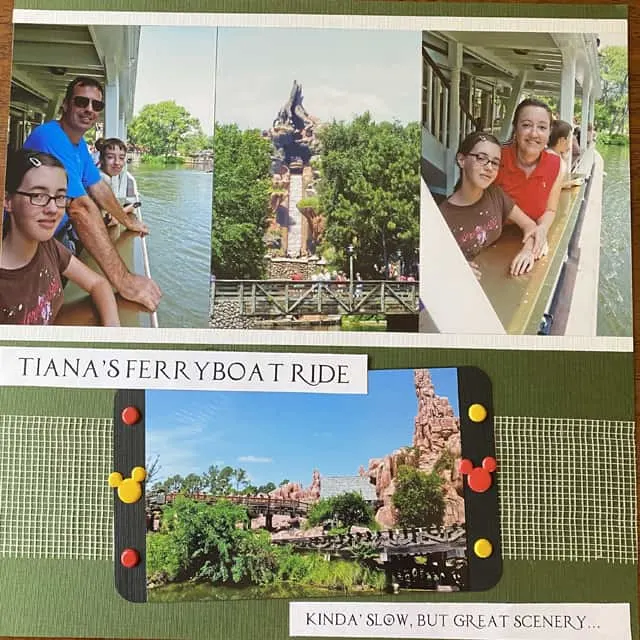
Creations with cardstocks are endless!
I buy individual sheets at my local scrapbook store that match my photos and layout. Purchasing paper sets is a great way to get started and much more economical than buying sheets individually.
Craft stores such as Joann’s, Michaels, and Hobby Lobby give flexibility of purchasing from either the store, curb pickup, or online. I never buy these paper sets without getting a discount. If you’ve ever shopped here, you know coupons and sales prices are the norm.
Embellishments
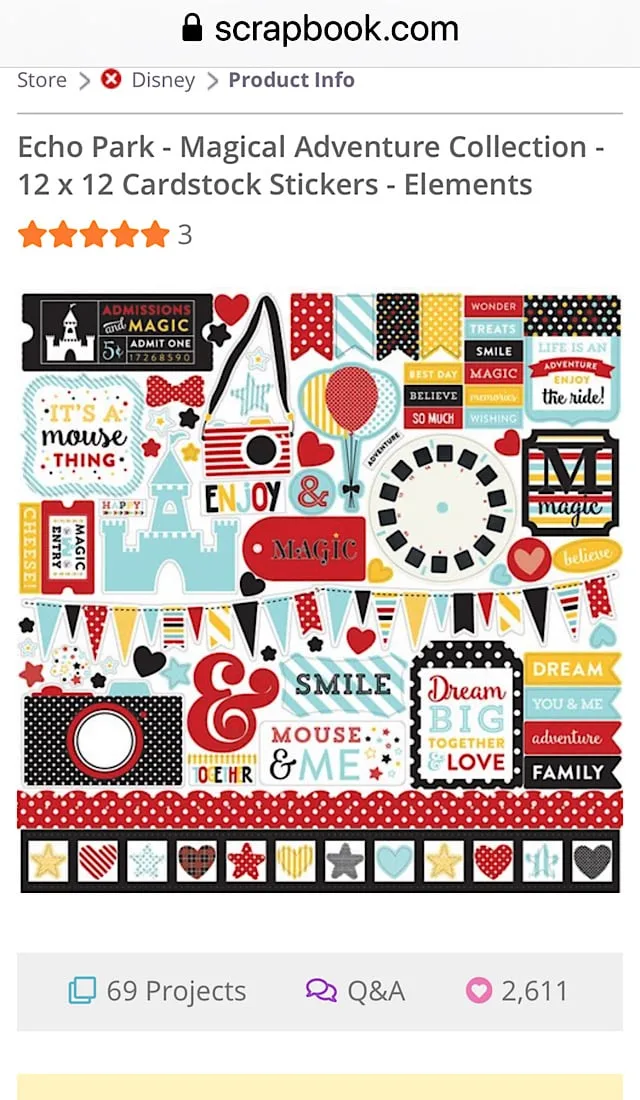
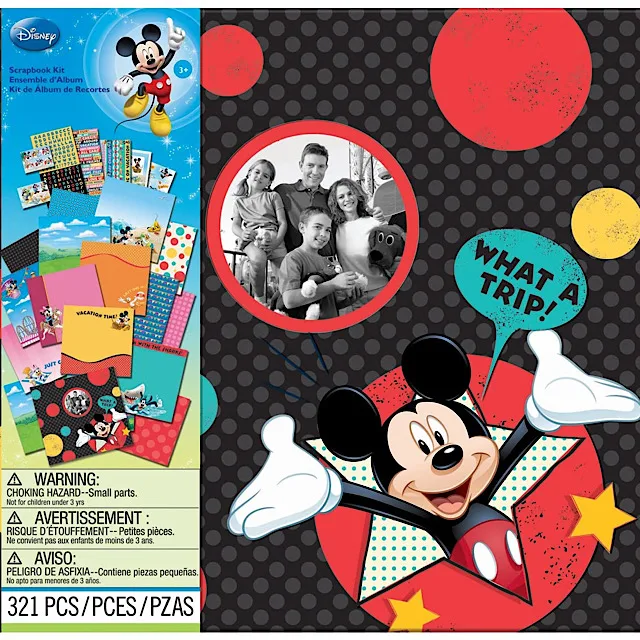
Embellishments such as stickers, die cuts, and brads aren’t a must have, but they can make your pages “pop.” Kits, like the one showed above, include not only Disney-themed patterned paper but also a variety of stickers that can easily be added to your layouts.
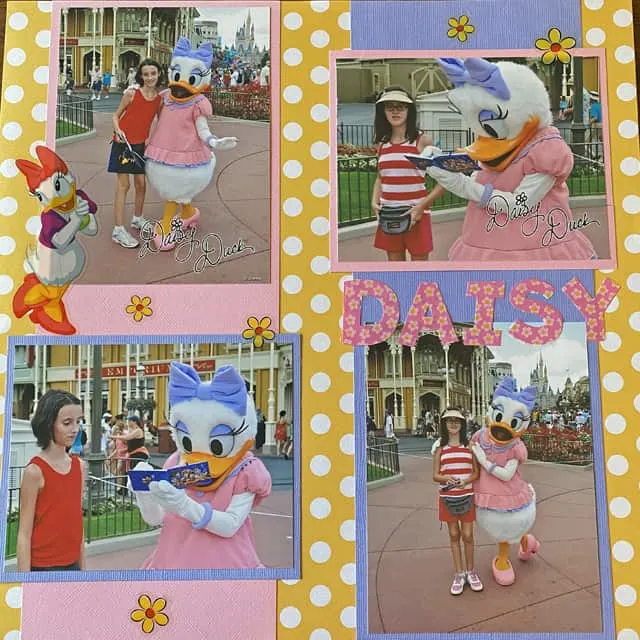
Another easy embellishment to use are letter stickers. You can see an example of this in my “Daisy” title.
Now What?
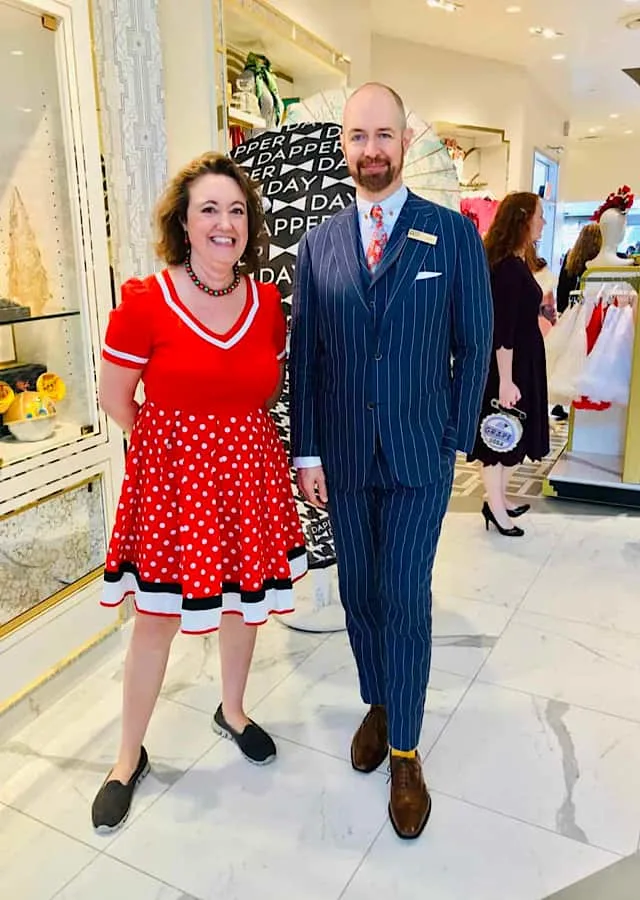
Okay, so you’ve ordered pictures and collected basic supplies. Unless I have a ton of photos I just have to include, I tend to keep my photos at 4″ x 6″ or trim them to 4″ x 4″. Each page includes 2-4 photos in general, and I love to create 2-page layouts.
Create a layout (layout is another term for a scrapbook page) for an event, character meet, pictures in front of your favorite Disney castle, etc.
Create a Sketch
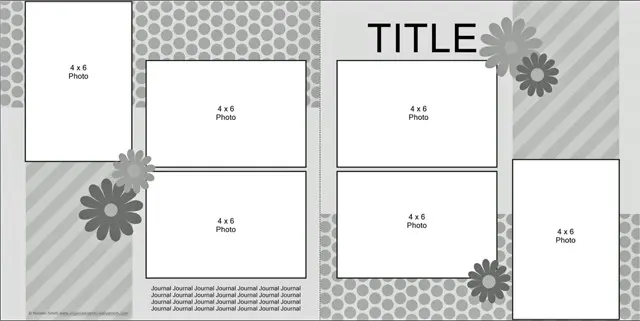
The first thing I do is create a basic design or “sketch” of my layout. Pinterest is my go-to site for inspiration. I have boards for sketches using different number of photos per page.
Cut a mat slightly larger than my picture to create a feature photo that pops on each page. For example, for a 4″ x 6″ photo, cut a 4 1/2″ x 6 1/2″ mat. Place adhesive on the photo (a little in each corner or a few strips is good), then center the photo on the mat. If I’m feeling adventurous, sometimes I’ll cut a double mat to make it really stand out.
Jazzing Up Your Layout
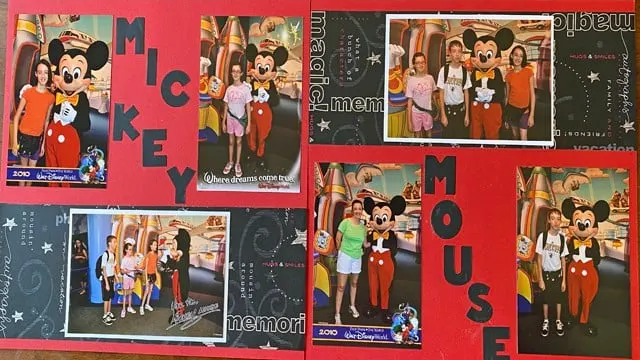
For each page or 2-page layout, include a title. You can use stickers, your diecut machine, or markers to draw a title. It’s great to include a spot for journaling so you can write about your experience, but I have to admit I’m not the best at remembering to do this.
Include a few embellishments that complement the photos and title to wrap it up. This will add personality to your Disney scrapbook.
Enjoy Your Results
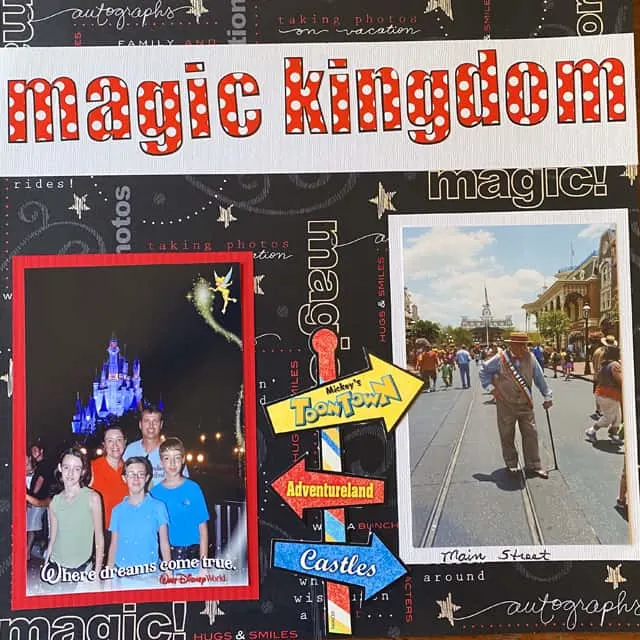
When I have too many photos to fit on a few pages of layouts, like a parade, I’ll include these multi-photo sleeves in my scrapbooks also. For me, it’s not about how sophisticated the layouts are, but how much enjoyment I get in looking back at the albums.
Please take the challenge to print those Disney photos and gather a few basic supplies. You’ll be so proud when you see the results! Would you like to see articles on tips to scrapbook specific Disney parks and events, as well as more advanced techniques? If so, which ones?
Hope this inspires you to get crafty and create scrapbook pages. If you have questions about getting started or just want to share your thoughts and scrapbook pages, please do so on the KtP Facebook Page or in the comments below.
Discover more from KennythePirate.com
Subscribe to get the latest posts sent to your email.



Melanie Rose
Wednesday 10th of March 2021
I'm interested, but I don't know if links are allowed either. I don't even know if I'm allowed to post my email address?
Marni
Tuesday 9th of March 2021
I'm not sure if you allow links, so I wouldn't post unless allowed. I have a large variety of Disney themed paper, stickers, albums and embellishments. I have a family owned brick and mortar store, and all of my inventory is online as well. I ship world wide We have items that you can not find in big box stores, and much better quality as well.
Melanie Rose
Tuesday 9th of March 2021
Hi! I used to scrapbook and I'm just getting started again since my daughter is away at college. She told me that was my "new" project while she's gone because she loves looking at the ones I made when she was little. (I'm only several years behind!) I have a TON of Disney photos I need to scrap, including the ones from her mom & daughter Senior Trip which was part of her graduation present. I've always used the postbound books and you're right that it's a pain if you ever want to rearrange or change pages. What brand of D-ring books do you buy? Are they leather? I want something nice, but definitely am interested in the idea of these for ease of use. I would also love to see more examples of your pages! The ones you posted here look great! Thanks also for the tip of checking Pinterest for ideas. I'll definitely have to do that to get the 'creative juices' flowing again!
Discover more from KennythePirate.com
Subscribe now to keep reading and get access to the full archive.
Continue reading