Disney is rolling out MagicMobile to users! I was able to activate my pass, and I have laid out all the steps here to help you.
MagicMobile
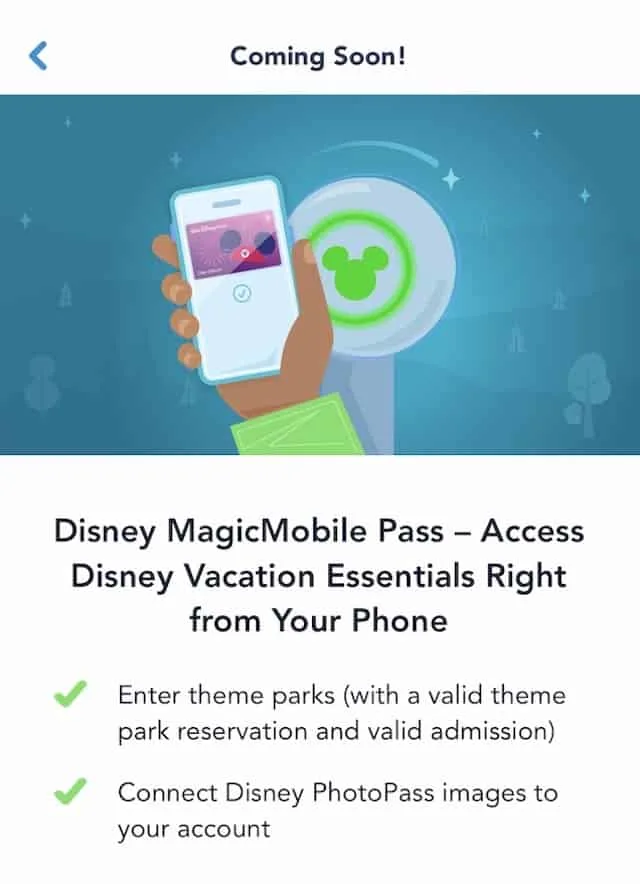
Disney World is rolling out a new service, called MagicMobile, to enhance the Guest experience through the use of smart phone technology. The service claims to be a convenient and contactless way to access MagicBand features like theme park entry through the power of your smart device.
MagicMobile will allow you to enter the parks, tap for ride photos, enter your room, and eventually, allow charge to room privileges as well. “Express Mode” even makes it possible for you to get through the tap point without unlocking your phone. However, if you have other people who don’t have their own My Disney Experience app then you will need to unlock your phone for them.
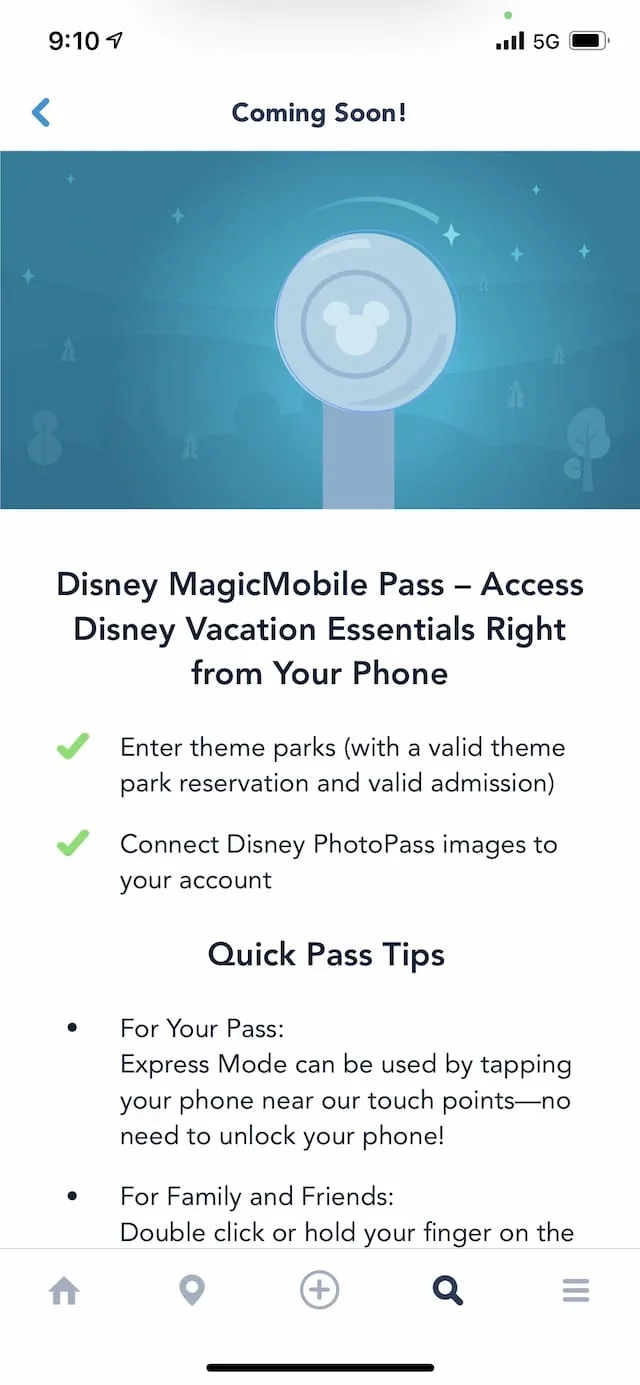
However, this all begs the question: How will the technology know which user to use automatically? Will it choose anyone who has a pass set up? I think opening your phone every time you or someone else wants to enter the parks would be smart so it doesn’t create any extra issues.
I’ll be honest, I’m not feeling very confident about this technology yet. There are 6 of us in my family, and the thought of having to swipe to everyone’s pass to get through a checkpoint sounds a bit daunting. Not to mention, if there are technical failures (and there’s sure to be some of those), it could delay your Disney fun.
How to set up your pass
Now that MagicMobile is available, I was able to set up my pass. Right now, it is only available to Apple users so Android users will have to wait a bit longer.
Here is a step-by-step guide to how to activate it.
Step 1: Make sure your My Disney Experience app is up to date. Also, be sure you have your Apple Wallet set up with FaceID and/or passcode. You will not be able to add your pass to your Wallet if you don’t have those ready to go!
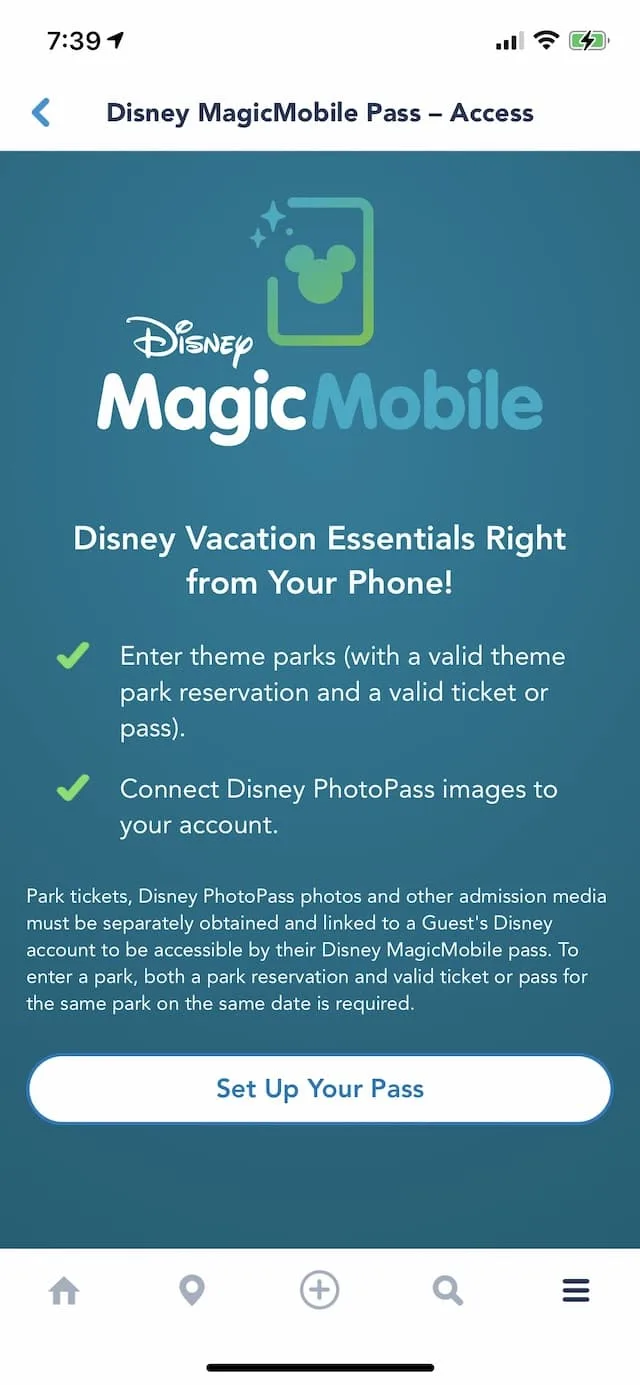
Step 2: Open the MDE app and click the “Disney MagicMobile Pass” on the right side of the screen. It will take you to this screen with some general information and the option to “Set Up Your Pass”.
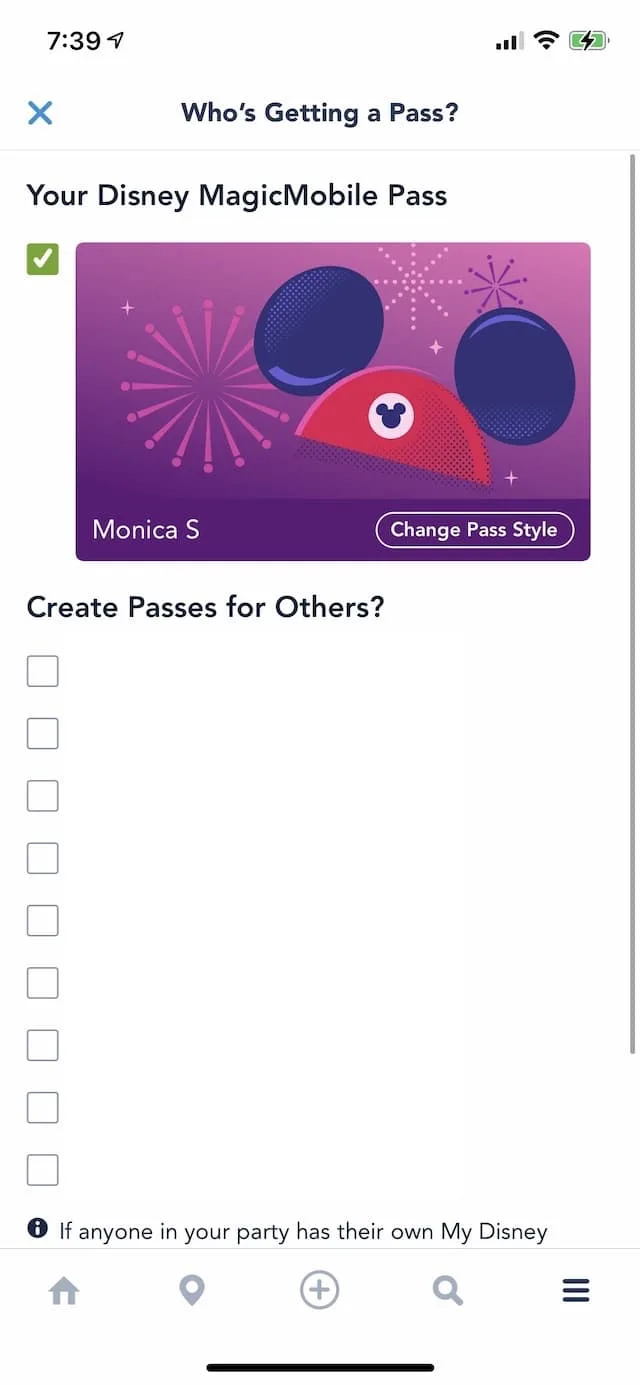
Step 3: Your app will then bring you to your Family and Friends List where you can choose which Guests you want to create a pass for. I noticed only the people I manage plans for are included.
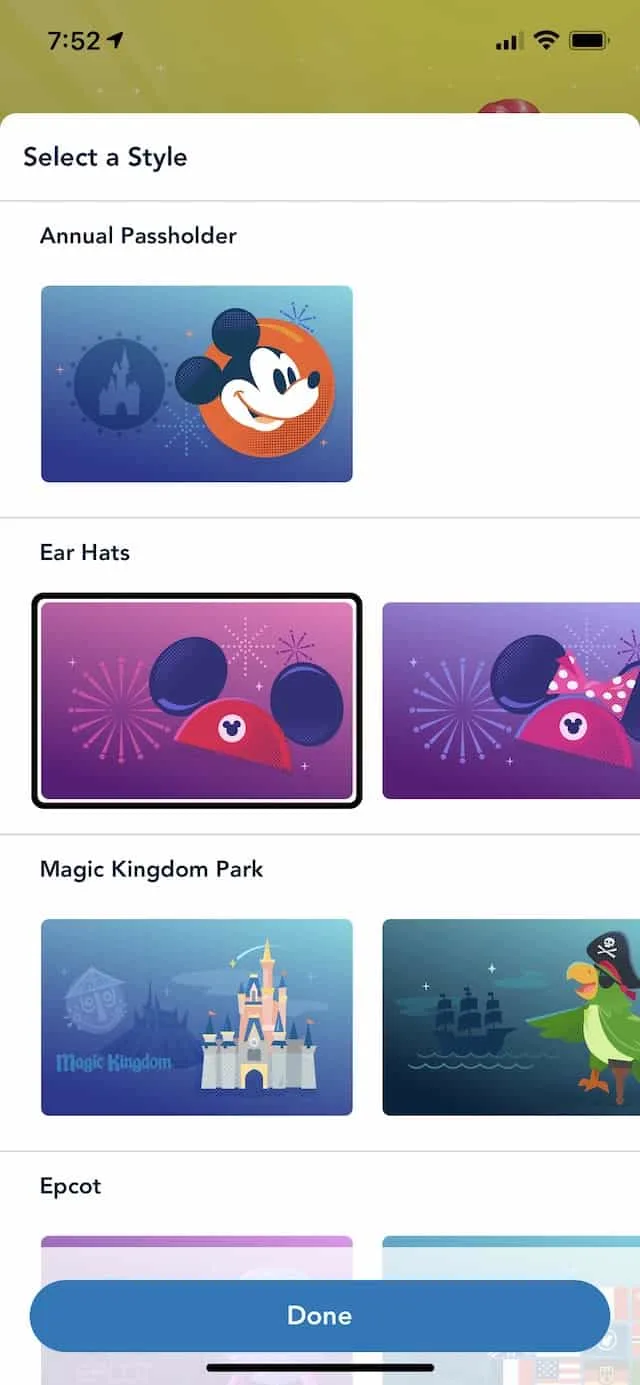
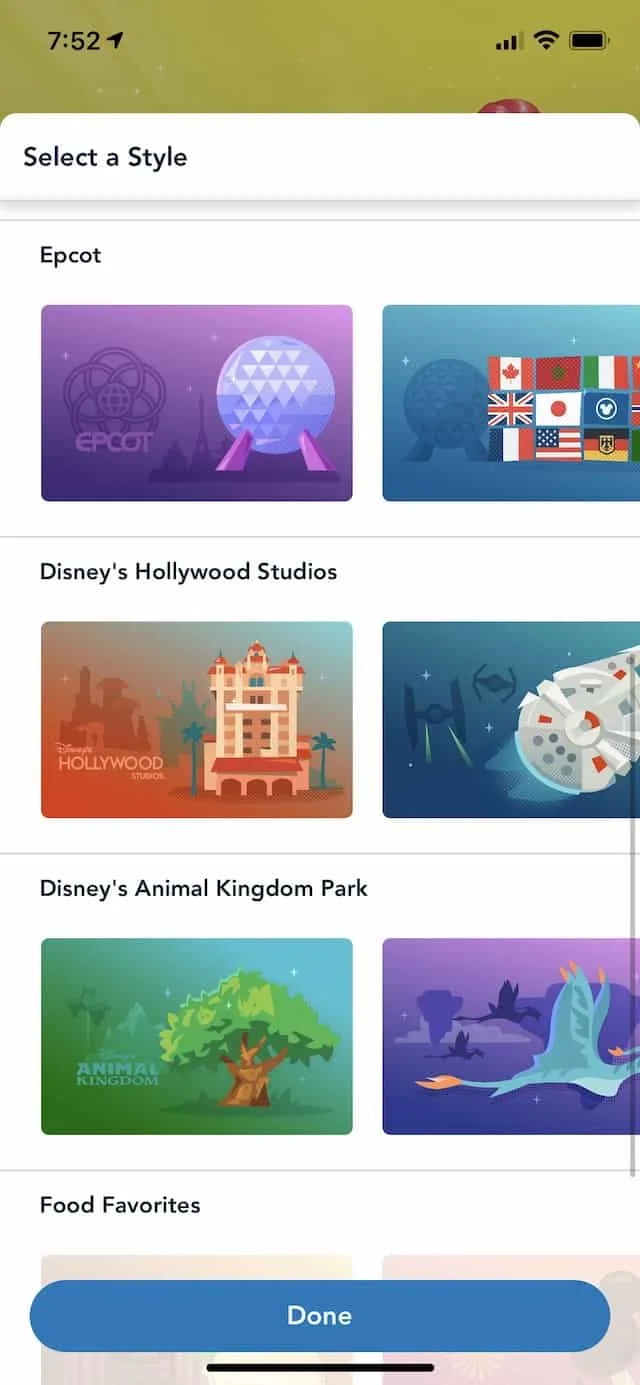
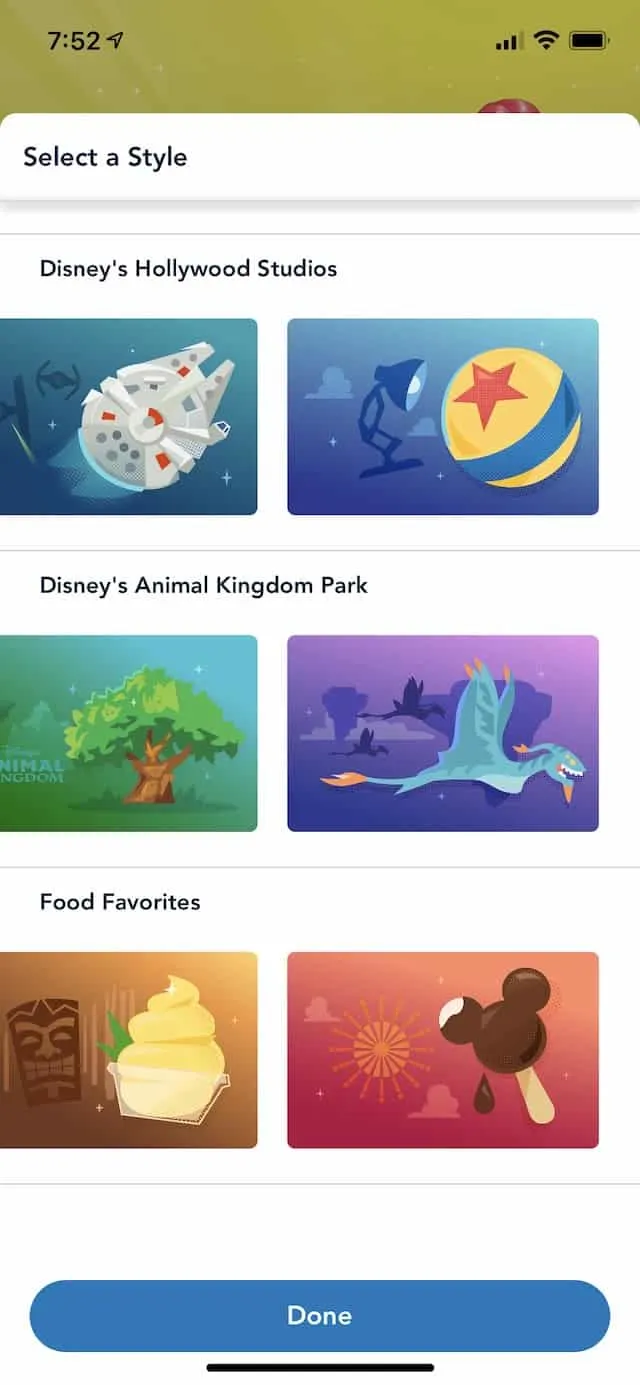
Step 4: If you want to change the Pass style for any of the users, there are several options based on the four theme parks and a few snack designs for all you Disney foodies. I have some examples, shown above and below.
Step 5: Once you have everyone clicked and the designs chosen, you will click “Add to Apple Wallet”. Here is where it’s really important to have your Face ID and passcode set up. At first I did not, and it kept giving me the dreaded MDE error message. I finally updated it and was able to add to my Wallet just fine.
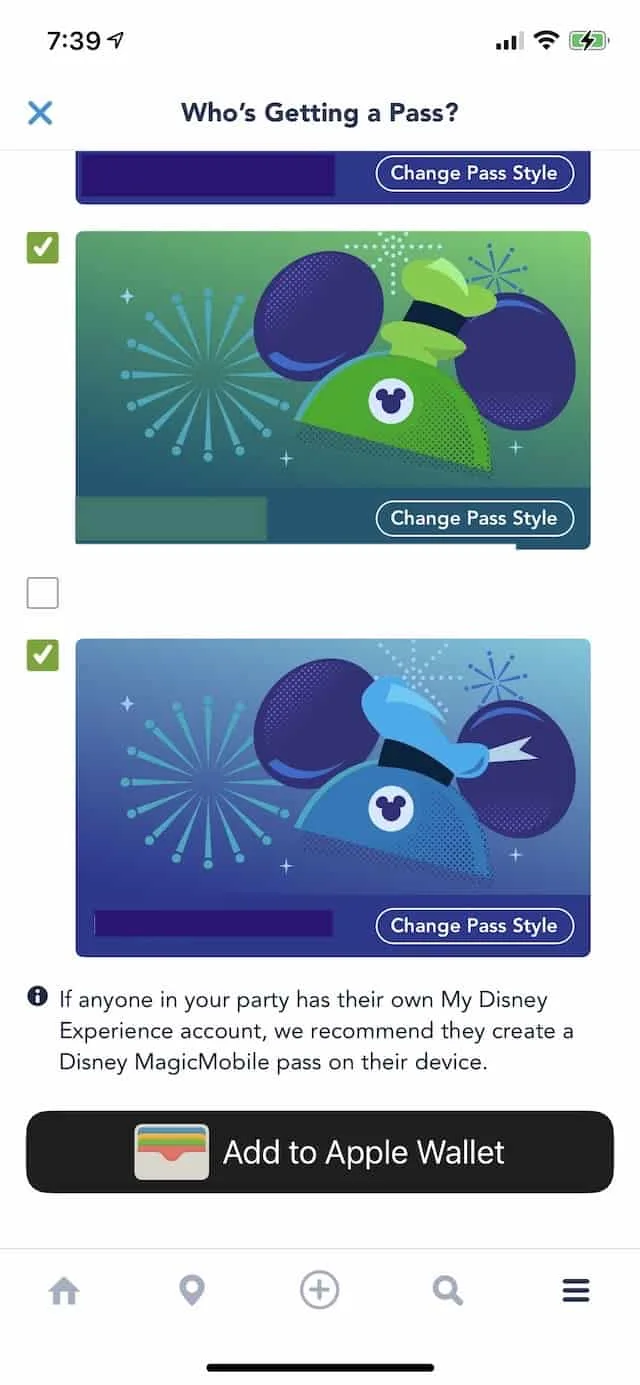
Step 6: It will then bring you to the Apple Wallet screen where you will click “add”. Then, you are done! It will bring you to another screen about Express Pass. This is the pass that works automatically without FaceID or your passcode. Again, I’m curious how the technology will know which pass in your Wallet to use.
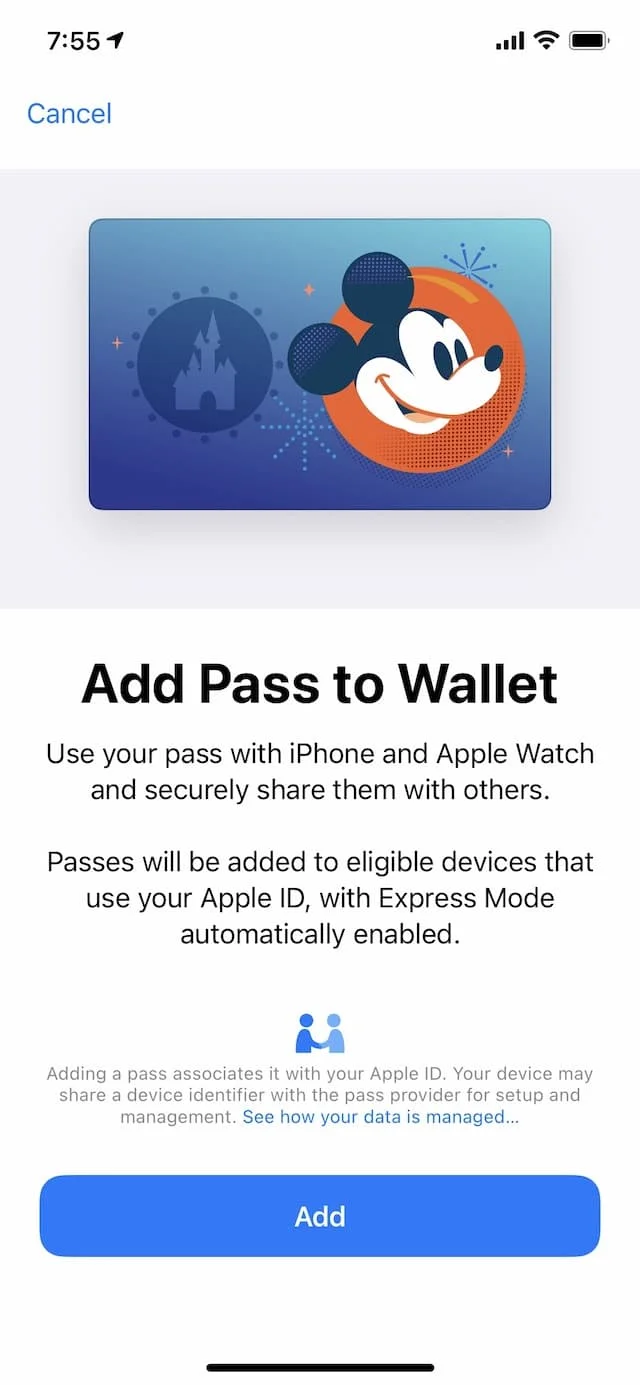
Step 7: Once you click “done”, there are a few tips to help you use the Disney MagicMobile Pass. Express Mode allows you to tap your phone near the access point without unlocking your phone.
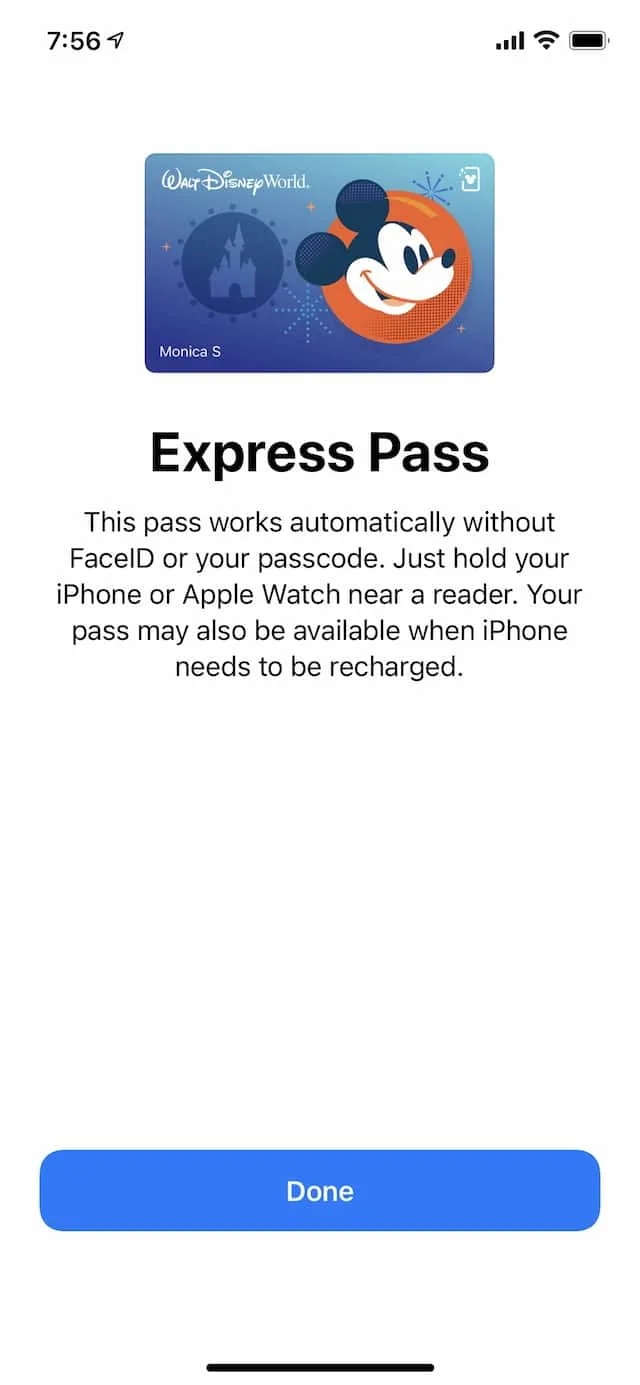
For family and friends, you will need to double click or hold your finger on the home button to open your Apple Wallet. Then, swipe to the pass to use it.
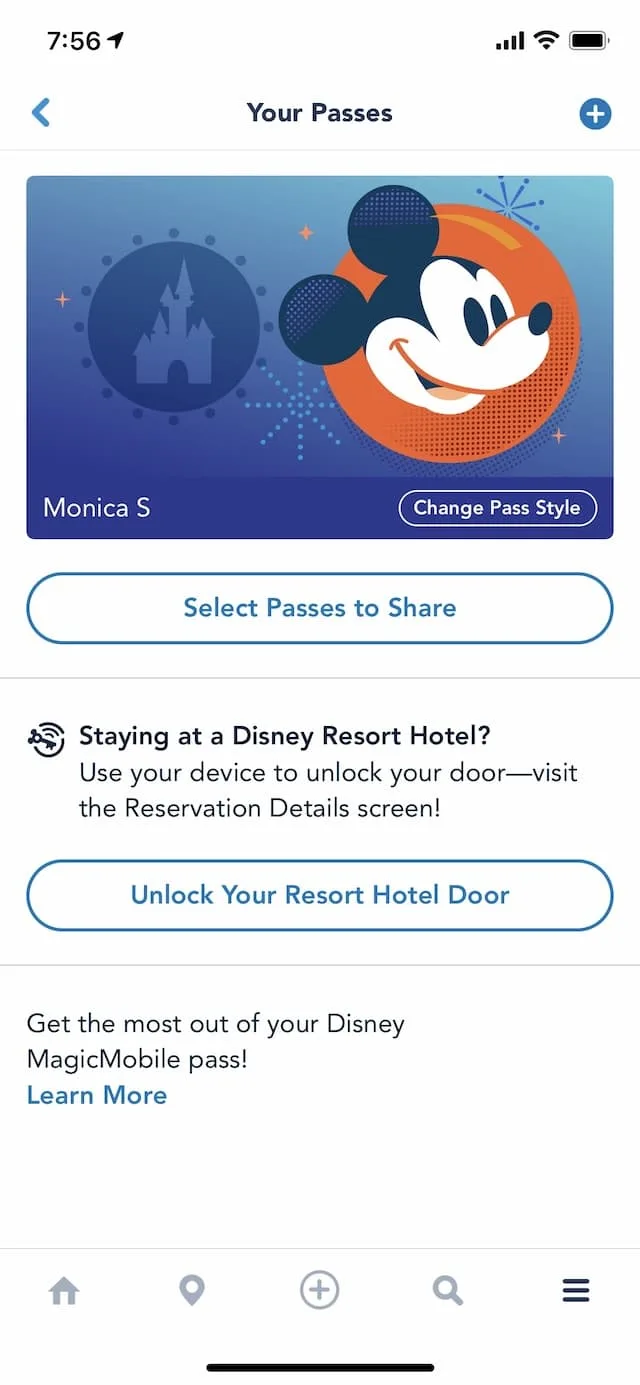
Finally, it will take you to the screen seen below which is a summary of all your passes.
Will you set up MagicMobile on your device or will you continue to use MagicBands? Let us know in the comments below or on Facebook.
Discover more from KennythePirate.com
Subscribe to get the latest posts sent to your email.


What do you think?