It’s crucial to have everyone linked in My Disney Experience. Check out step-by-step instructions here to make sure everyone is included.
My Disney Experience
At Disney World, the My Disney Experience app and website continues to be the heart of planning Disney vacations. Guests manage reservations as well as tickets and itineraries on the “My Plans” section.
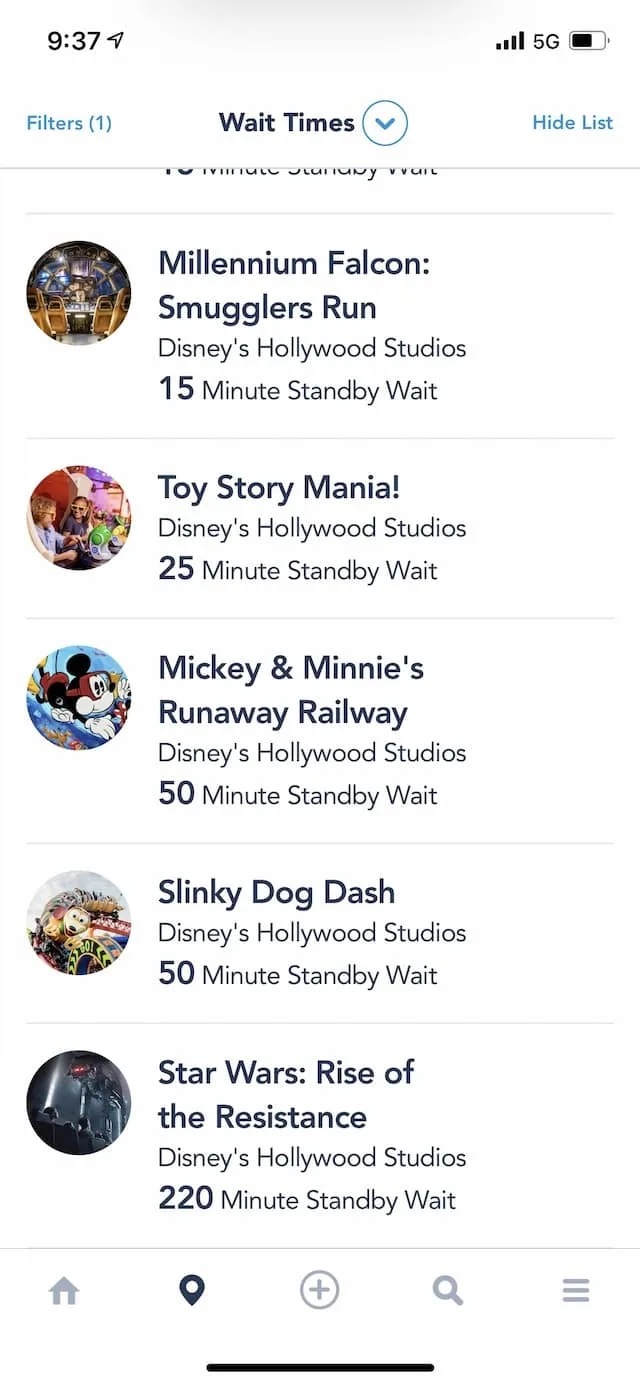
In addition, guests manage profiles, mobile ordering, see Photopass photos and dining reservations. If you’re curious about current wait times, those are also displayed on My Disney Experience.
Why Include Everyone?
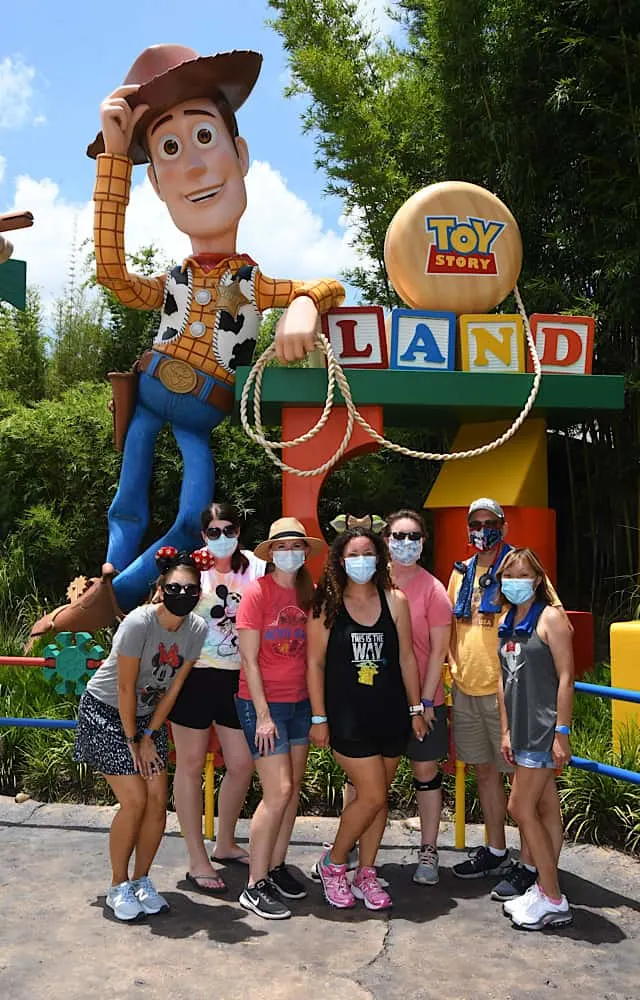
To help keep plans straight, there is usually a main person planning Disney World vacations. That person in our family is me (Susan). Sometimes, this may be a travel agent, but someone in each party needs to understand how to utilize My Disney Experience that’s going on the trip.
Without knowledge of My Disney Experience, you’ll have a difficult time keeping up with reservations and other plans.
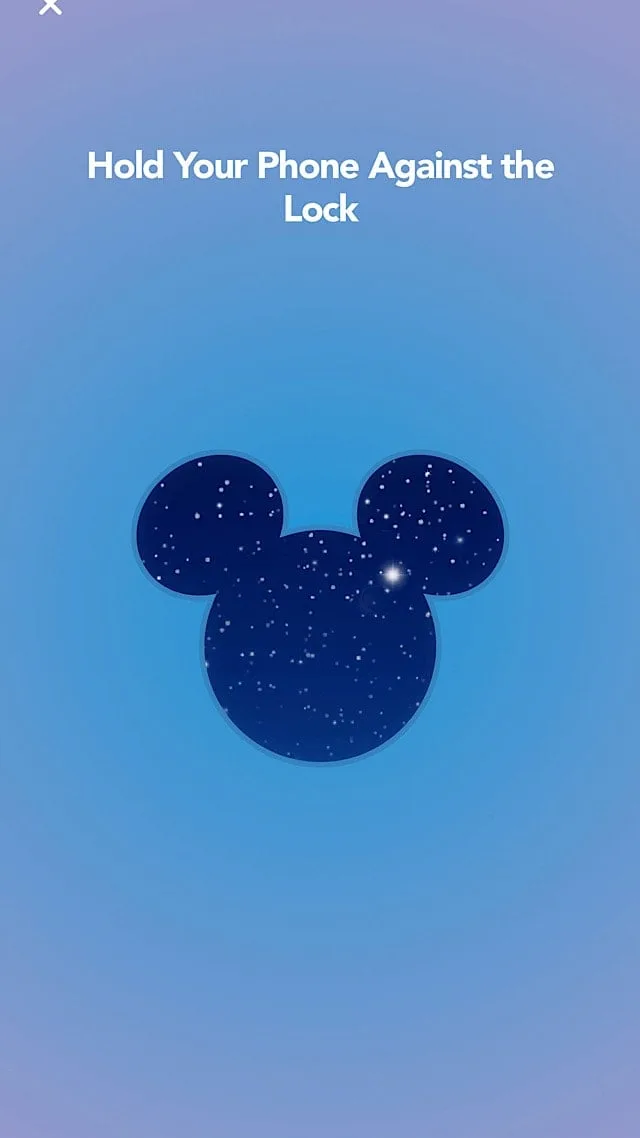
Magic Bands are linked to Disney Resort reservations when staying on Disney property. Having everyone linked can allow everyone to enter the room on their own phone using My Disney Experience. Check out how to navigate Disney, including entering your resort room without a magic band here.
My Disney Experience is the heart of theme-park goers plans. Also, the new Genie system is integrated into My Disney Experience. Without access to others in your party, there is no way to book park reservations together or see dining reservations. Linking everyone also lets you see each other’s Photopass photos.
How to Get Started
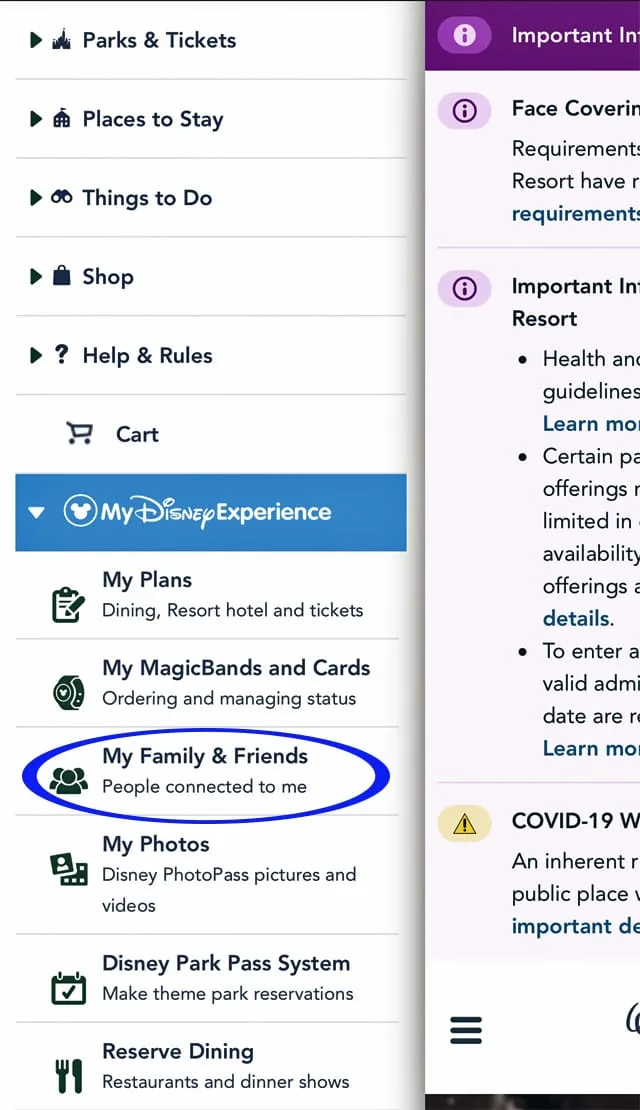
First, under My Disney Experience, select “My Family and Friends.” This works on Disney World’s website or app. The website has more functionality. That’s usually what I use. Look at the photo above for an example. Here, you’ll notice it says, “People connected to me.” This is what you’ll be doing – connecting everyone on your trip.
My Family and Friends List
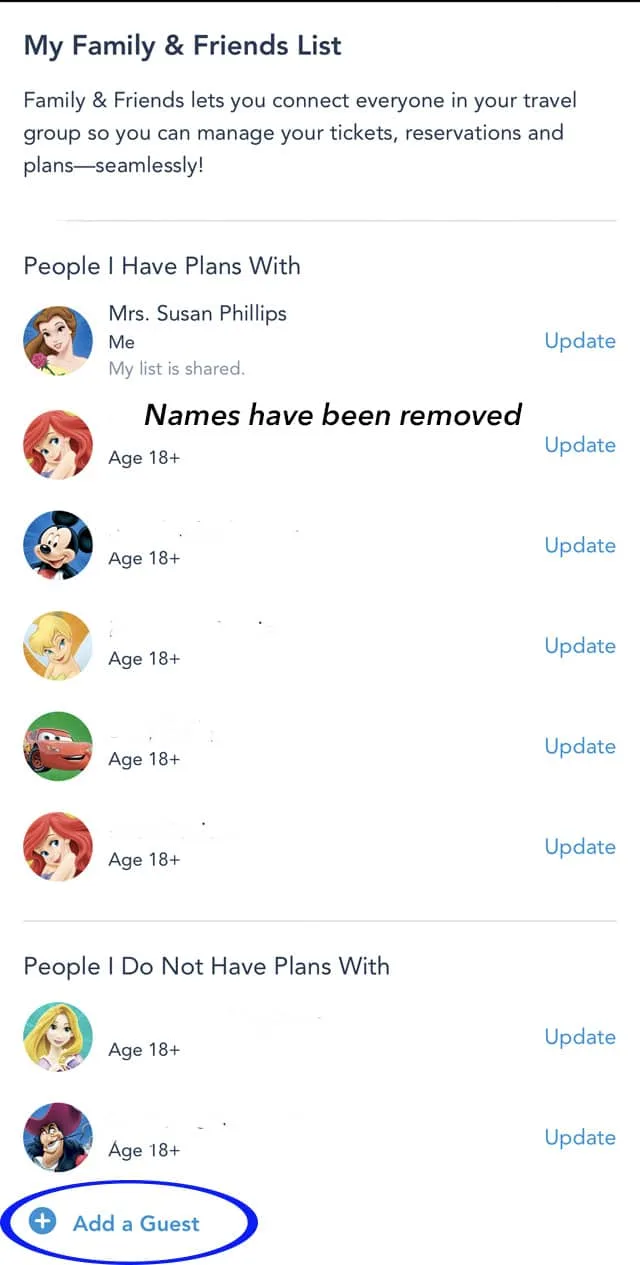
As stated in the photo above, connecting friends and family really does make planning so much easier. My Disney Experience (MDE) breaks down people into those that currently have shared plans, and those that don’t. Shared plans include people who are on the same room or dining reservation as yourself.
Note: Names will be shown to the right of each guest on your MDE. I’ve taken them out for privacy.
Then, to add someone new, simply select “Add a Guest.” This automatically takes you to a new screen to actually add them. This process is really simple once you get the hang of it.
Ways To Add People
Disney gives three choices to add guests to your party. First, find through my already connected guests. Next, import from a Disney World resort reservation. Lastly, manually enter each person’s information. Read steps below to see when each should be used.
Regardless of which way guests are added, afterwards plans can be shared between all connected guests.
Connected Guests
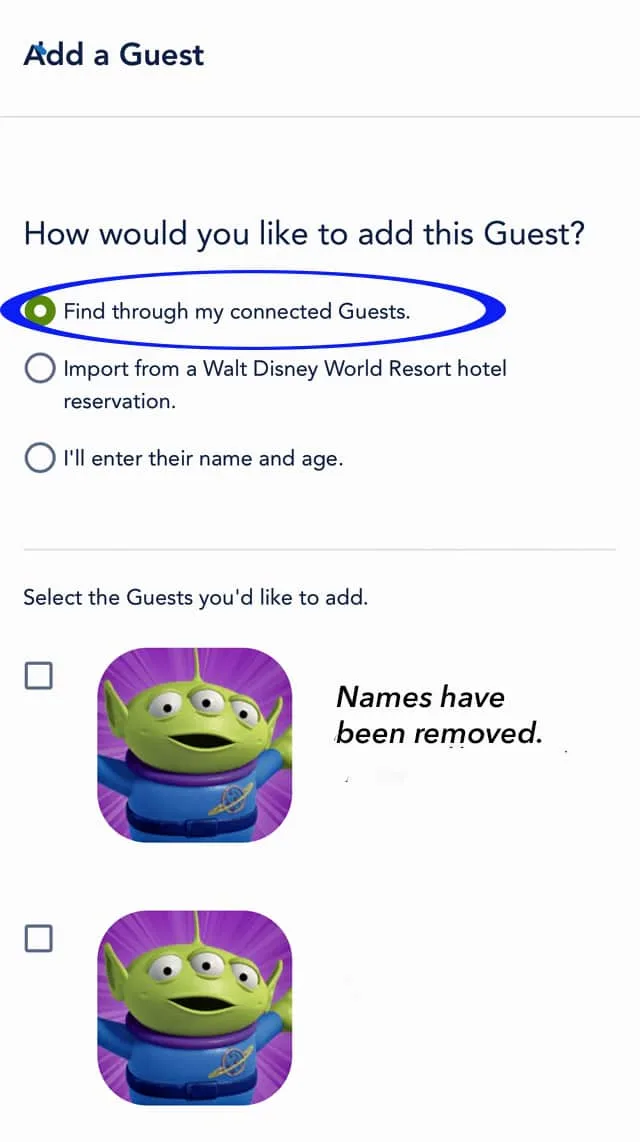
Family members and friends you’ve previously traveled with should show up under connected guests. Even though you don’t have current plans, previously linked people can be found here unless one of you has removed yourself manually.
Sometimes people are taken off current plans because they aren’t going on the most current trip. For example, when booking a boarding group, too many people on the list may slow things down. Unless you have had a previously shared Disney Resort reservation, you probably won’t use this option to add guests.
Import Guest Information
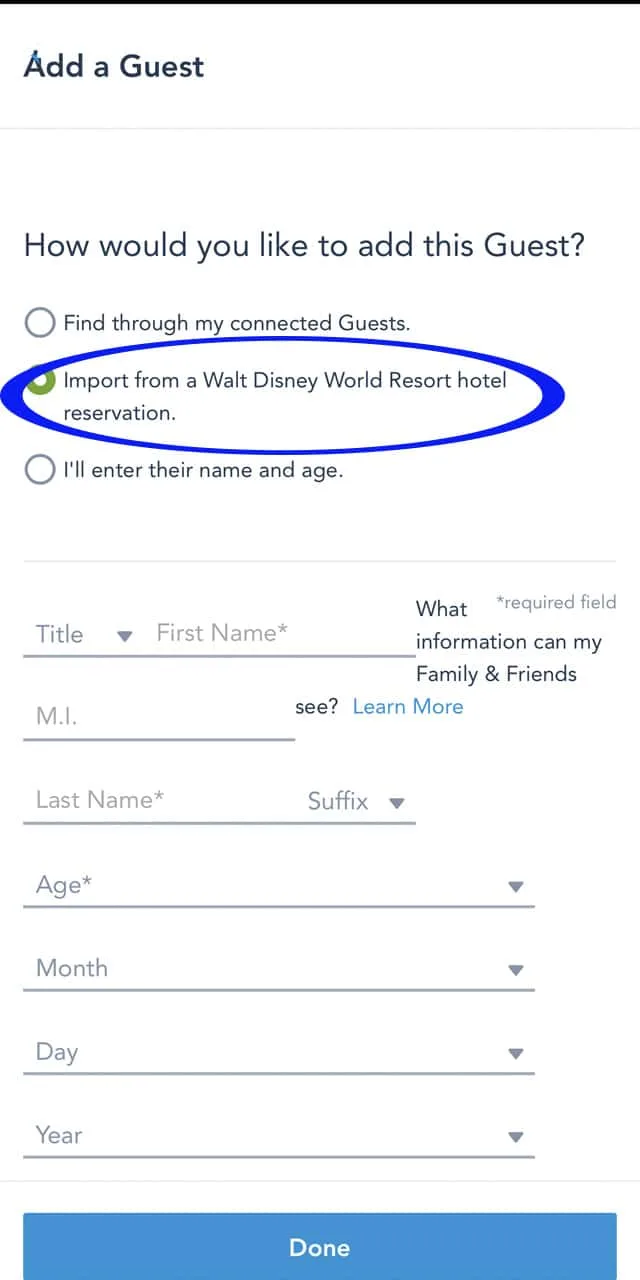
Most of the time guests will be automatically added on Disney Resort reservations if you book using Disney’s website or a travel agent. However, when I rented DVC points, I had to manually link the Disney resort reservation. Also, when booking a Disney Springs or other good neighbor hotel, you’ll need to add that reservation to My Disney Experience.
Note: When I booked a Disney Springs stay, I had to call the actual hotel to get the “Disney Reservation Number” in order to link it. This was not the same number as the Disney Springs hotel reservation number.
In this case, friends and family may not be connected automatically so you’ll need to double check.
Enter Guest Information
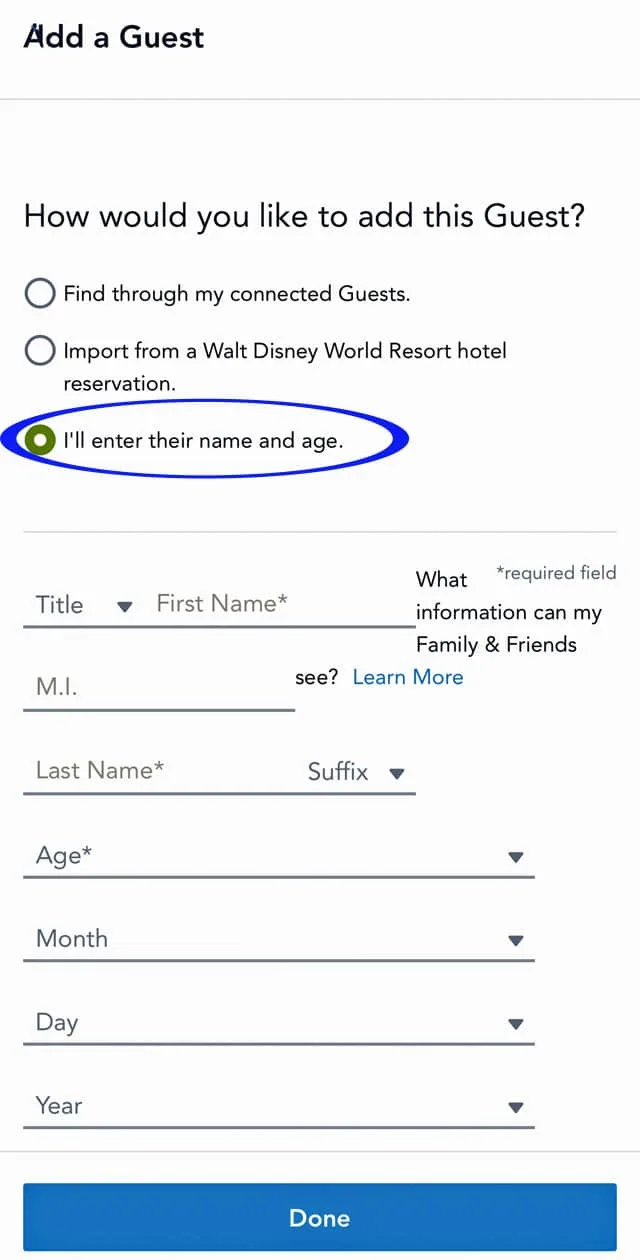
This is the most common way to add someone to My Disney Experience. For example, recently I went to Disney with friends, but I wasn’t the one who actually booked the Disney resort. Also, we had several friends with us on our trip who were staying at a different Disney resort.
We wanted to eat and share itineraries so this was the best way to do this. With the Genie and Genie+ additions to MDE and if you utilize a disability pass, you’ll need everyone linked to book ride return times.
Planning Options
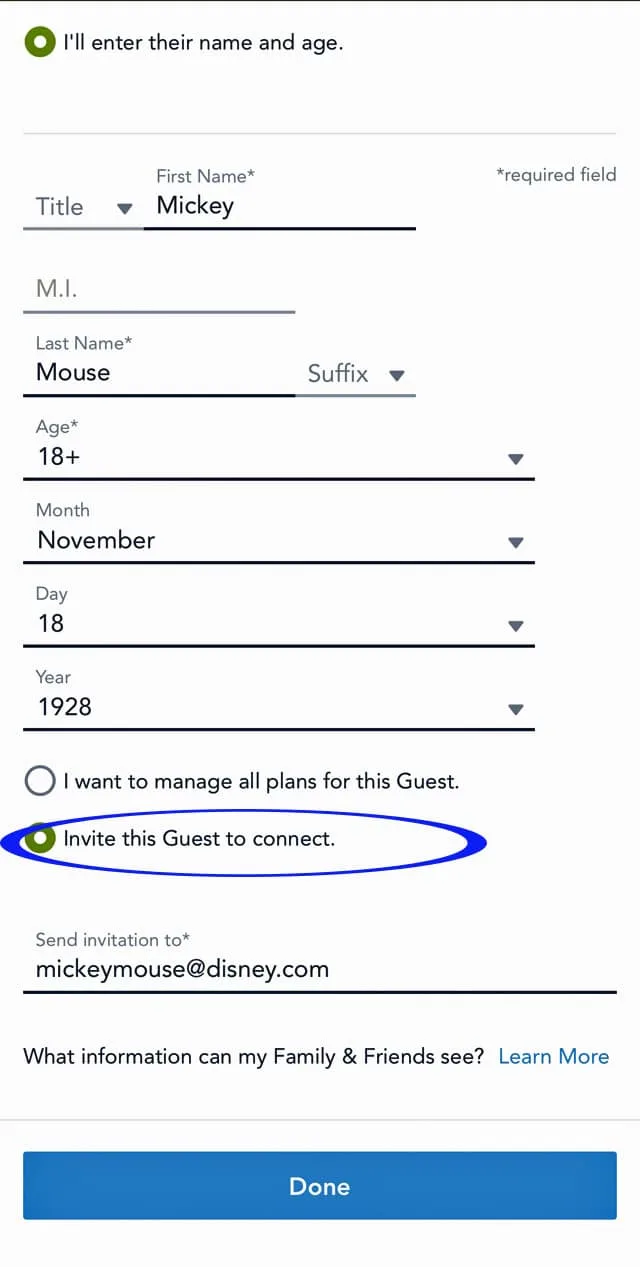
Just enter the guest’s name, age, and email as shown in the photo above to send an invitation to link both parties My Disney Experience. Once the person who invite accepts, you can choose to share all or just plans you share together.
Checking Invitation
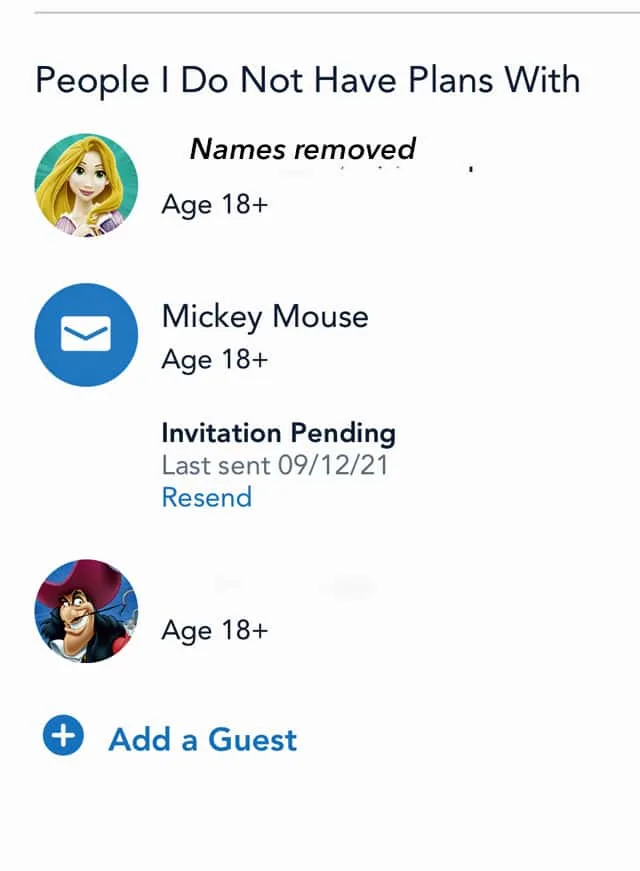
My Disney Experience breaks down the Friends and Family List into those you have plans with and those you don’t. Double check your Friends and Family list to make sure everyone is included before it’s time to reserve dining and make Genie selections.
That way, your planning will go smoothly and you’ll be sure to include everyone! It’s so convenient for everyone to see when the next meal or activity is, especially when traveling with a large group.
Hopefully, this guide will make it easier to add friends and family to your MDE. Are you the planning person in your trip, or does someone else do that? Please share your thoughts in the comments below, on Facebook, or in our crew on Facebook.
Discover more from KennythePirate.com
Subscribe to get the latest posts sent to your email.



What do you think?